CB2 SAGA Instrukcja montażu - Strona 4
Przeglądaj online lub pobierz pdf Instrukcja montażu dla Wyposażenie wnętrz CB2 SAGA. CB2 SAGA 5 stron. Credenza

saga
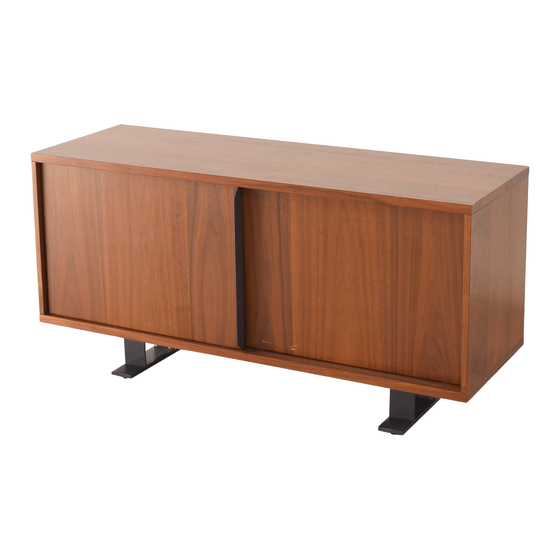
CREDENZA
With assistance of another adult, position unit
upright. Slide back panel into corresponding
9
grooves of left and right side panels as shown.
door front A
small
handle
A. Attach large handle to door front (A) with 3
handle screws as shown, using a screwdriver.
Do not over tighten the screws.
11
B. Attach small handle to door front (B) with 3
handle screws as shown.
Made in Vietnam - r08
back panel
large handle
A
door front B
B
Customer Service 800.606.6252 | Latest instructions available at www.cb2.com
Fit dowels of assembled unit into corresponding
holes of top panel as shown. Secure all cams in
10
side panels and top partition.
door front A
A
A. Fit top of door front (A) up into back groove of
top panel as shown. Fit bottom of door front (A)
into back groove of bottom panel as shown.
B. Fit top of door front (B) up into front groove of
top panel as shown. Fit bottom of door front (B)
into front groove of bottom panel as shown.
12
Assembly is now complete.
NOTE: Make sure the grooves
of top panel are facing the same
grooves of bottom panel during
assembly
top panel
door front B
B
Page 4 of 5
