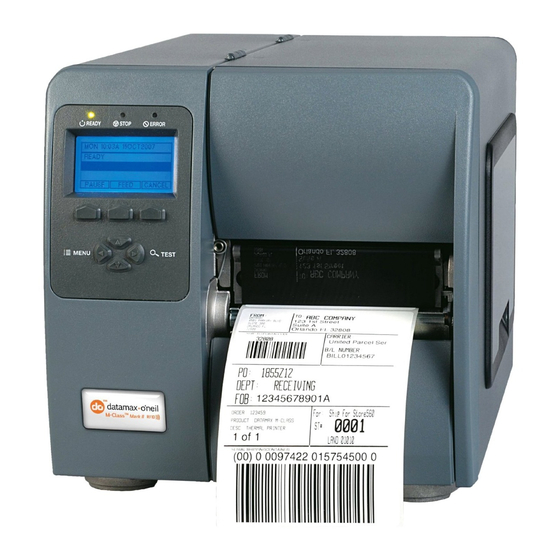
Datamax M-Class Mark II Podręcznik - Strona 6
Przeglądaj online lub pobierz pdf Podręcznik dla Czytnik kodów kreskowych Datamax M-Class Mark II. Datamax M-Class Mark II 10 stron. Rfid option
Również dla Datamax M-Class Mark II: Podręcznik (6 strony), Podręcznik (8 strony), Skrócona instrukcja obsługi (4 strony), Skrócona instrukcja obsługi (8 strony), Skrócona instrukcja obsługi (6 strony), Skrócona instrukcja obsługi (8 strony)

Ensure that the Leveling Cam is
loose, and then close and latch the
Printhead Assembly.
While pushing down on the
Printhead Assembly, as shown, pull
down on the Side Plate and tighten
the Screw.
Verify Latch Operation:
- Open and close the printhead assembly, verify that the latch is fully engaged. If you are unable to get
the printhead to latch, the side plate is too low.
- Pressing down on the printhead assembly should not cause the latch to loosen or reveal any gap at the
latch point. If there is a gap or movement in the latch then the side plate is too high.
- Print some sample labels. If degraded print quality or ribbon tracking problems are observed then the
side plate is not positioned correctly.
Step 3: Installing the Peel & Present Mechanism
Position the Peel and Present Mechanism
for mounting on the front of the printer.
Tighten the Mounting Screw to secure
the mechanism to the printer.
This completes the installation process.
Proceed to Loading Media to begin use.
Mounting Screw
Peel and Present Mechanism
4
Printhead Assembly
Leveling Cam
Screw
Side Plate
