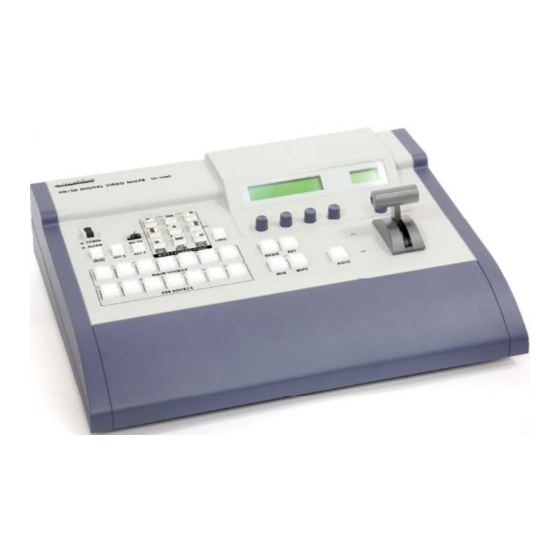
Datavideo SE-1000 Podręcznik uzupełniający - Strona 3
Przeglądaj online lub pobierz pdf Podręcznik uzupełniający dla Przełącznik Datavideo SE-1000. Datavideo SE-1000 7 stron. Datavideo se-1000 switcher: supplementary guide
Również dla Datavideo SE-1000: Podręcznik referencyjny (4 strony)

5 cameras & 1 computer mixed live for projection
1) Connect your cables as shown in the diagram above.
2) Confi gure the switcher's input signal type. Press
FUNC and SETUP, select F1 and adjust it to
SETUP
FUNC
"FORMT 4/15". Formats available are as follows:
PGM
480/59i, 576/50i,1080/59i, 720/59p, 720/50p.
Press F4 to confi rm your selection.
3) Now we set up the internal converters to
CH1
FN01
output composite for monitoring. Set the "Format/
SD
Standard Converter" (above the T-bar) by turning
the dial to "CH1" and press the dial to confi gure
Channel #1.
FORMAT/STANDARD
4) CH1 "FN01" sets the output to SD or HD by
CONVERTER
pressing the selector and turning it to the right to
cycle the settings. To deselect the function, press
the selector and turn the dial to the right to select
"FN02".
SE-1000 Applications
FORMT
| MODE
|
4/15
| 480/59i
| EXEC
F1
F2
F3
5) CH2 "FN02" sets the signal output type depending on
CH1
FN02
HD or SD signal types. To make changes to the signal
480i
CVBS
output format press the knob and select "480iCVBS"
(required for TLM-433 monitors). Repeat this step for
each camera input.
FORMAT/STANDARD
CONVERTER
6) Proceed to the required cross-
point confi guration. Press FUNC
and XPT to enter the crosspoint
F4
setup. Turn the F1 dial to "XPTAS
2/3" and set the crosspoints as
follows:
XPT 1 = IN1
XPT 2 = IN2
XPT 3 = IN3
XPT 4 = IN4
XPT 5 = IN5
XPT 6 = DVI
XPT 7 = BLK
XPTAS
| XPT
| SIG
|
2/3
|
1
|
IN1
|
F1
F2
F3
F4
