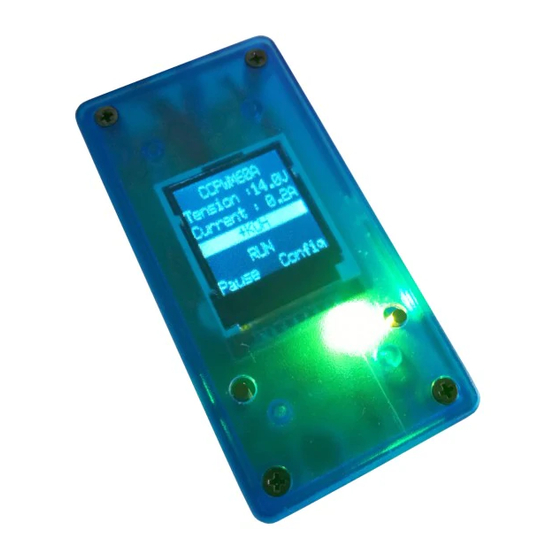
HHO Plus CCPWM60A Instrukcja instalacji - Strona 9
Przeglądaj online lub pobierz pdf Instrukcja instalacji dla Akcesoria samochodowe HHO Plus CCPWM60A. HHO Plus CCPWM60A 10 stron. Hho hydrogen on demand dual fuel generator systems
Również dla HHO Plus CCPWM60A: Instrukcja instalacji (11 strony), Instrukcja instalacji (12 strony), Instrukcja instalacji (10 strony)

Minimum Voltage
The CCPWM60A is designed for making the automatic power supply of the HHO System without the need for
relays or picking up the signal from the alternator/ignition key, making the system safer to use and easier to
install. In general the new CCPWM60A will work based on the voltage of the car:
- Engine is stopped – voltage in car is below 12,8V PWM => is not working;
- Engine is working – voltage in car is above 13VPWM => is working.
IMPORTANT: After having selected your voltage working limits you should test it to
check if it works correctly in your car. Stop engine and check if the CCPWM shuts
down. Start engine and check if CCPWM turns ON.
10 Water Level Sensor
The water level should be placed in a way that, when the water
level is above the minimum value, the signal coming from the
CCPWM does not return to the CCPWM. That is, the water level
circuit should operate as normally open (NO). Using our
company models, the water level sensor should be placed up
(please check last picture on this manual).
If you are not using a water level sensor in your system, no
operation is required.
If the water level drops below the minimum level then the
CCPWM will not work and a red light will appear
HHO Plus, Alternative Energies, Lta – Travessa das Serras 33, Vieira de Leiria, Portugal – Tel. 00351244697116 – Email: [email protected]
CCPWM60A – Installation Manual
The CCPWM will only work when the real car voltage value is
between the minimum and the maximum working voltage
value.
The CCPWM60A will shut down completely if the voltage drops
below 12,8V. If the voltage in the car is lower than the value
selected then the CCPWM60A will stop working and an alarm
will appear.
To set this value just proceed in the same way as explained for
the setting the amperage.
9
