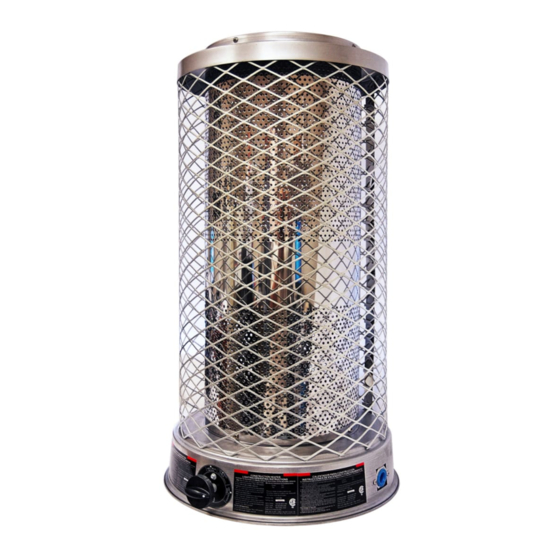
Dyna-Glo RA100NGDGD Instrukcja obsługi i instrukcja części - Strona 4
Przeglądaj online lub pobierz pdf Instrukcja obsługi i instrukcja części dla Grzałka gazowa Dyna-Glo RA100NGDGD. Dyna-Glo RA100NGDGD 13 stron. Delux natural gas radiant heaters

Dyna-Glo Delux Operating Instructions and Parts Manual
Dyna-Glo
Radiant Heaters
Operation
E
Hot while in
operation. Do not
N
touch. Keep children, clothing, furniture,
G
gasoline, and other liquids having
L
flammable vapors away.
I
The gas supply attaches to the heater by
S
a minimum 3/8 inch I.D. pipe or flexible
H
connector. User must supply pipe or
flexible connector. The length should be
no more than 10 feet. The natural gas
moves through the regulator and out
the nozzle.
Ignition System: The ignitor initiates
a spark which ignites the gas from the
main burner.
Automatic Control System: This
system causes the heater to turn off if
the flame is extinguished.
TO START HEATER (RA100NGDGD)
1. Follow all of the safety, ventilation
and installation instructions
previously noted in this manual.
Shell
Upper Base
Base Chamber
Tubing Outlet Assembly
Regulator
Control Valve Assembly
Lower Base
Figure 4 – RA250NGDGD Part Identification
For Technical Support or Troubleshooting, Call: 1-877-447-4768, 8:00 am - 5:00 pm CST
Delux Natural Gas
®
2. Always be sure to place the heater on
a stable and level surface while the
heater is in operation. Be sure that no
strong winds blow into the ends of
the heater.
3. Turn control knob CLOCKWISE
to "OFF" position.
4. Turn natural gas supply valve on.
5. Depress heater control knob and turn
counterclockwise to "(IGN) LOW"
position to light burner (see Figure 3).
6. If burner does not light, turn heater
control knob to "OFF" position and
repeat step 5. Keep control knob
depressed for approximately 10 to 15
seconds, then release control knob.
7. If burner flame goes out, wait 5
minutes then repeat steps 5 and 6.
8. With burner operating, the control
knob may be turned counter-
clockwise to desired heating level
between "LOW," "MED," and
"HIGH."
Emitter
Main
Nozzle Flame
Shield
Nozzle Bracket
Insulation Ring
Pilot Assembly
Base Shield
Tubing Pilot Assembly
Ignitor
Tubing Inlet Assembly
Tip Over Switch
Automatic Control Button
RA100NGDGD and RA250NGDGD
NEVER LEAVE THE HEATER
UNATTENDED WHILE BURNING!
TO SHUT DOWN HEATER
1. Shut off the main burner valve, being
sure to wear a glove for protection.
Turn the control knob to the "OFF"
position.
2. Firmly close the natural gas supply
valve.
TO RESTART HEATER
1. Wait five minutes for heater to cool.
2. Follow steps in TO START HEATER
section.
TO START HEATER (RA250NGDGD)
1. Follow all of the safety, ventilation
and installation instructions
previously noted in this manual.
2. Always be sure to place the heater on
a stable and level surface while the
heater is in operation. Be sure that no
strong winds blow into the ends of
the heater.
3. SLOWLY open the gas valve.
4. Push in and hold the automatic
control button (see Figure 4). Push
ignitor button (see Figure 4). You
may need to repeat pushing the
ignitor button several times before
the pilot will light.
NOTE: The gas line may have air in it.
Press in the automatic control button
for about 15 seconds for the air to
pass out of the system. Then push the
ignitor button once again. Once the
pilot lights, keep the automatic control
button pressed in. Release after at least
15 seconds.
5. If pilot does not light, repeat Step 4.
6. When pilot stays lit, fully open the
main burner valve by turning the
handle of the burner valve counter-
clockwise until it stops all the way to
the ON position.
4
www.ghpgroupinc.com
