Great Lakes MINISTAR S Wskazówki dotyczące rozwiązywania problemów i produkcji - Strona 2
Przeglądaj online lub pobierz pdf Wskazówki dotyczące rozwiązywania problemów i produkcji dla Sprzęt dentystyczny Great Lakes MINISTAR S. Great Lakes MINISTAR S 2 stron.
Również dla Great Lakes MINISTAR S: Instrukcja obsługi (13 strony)
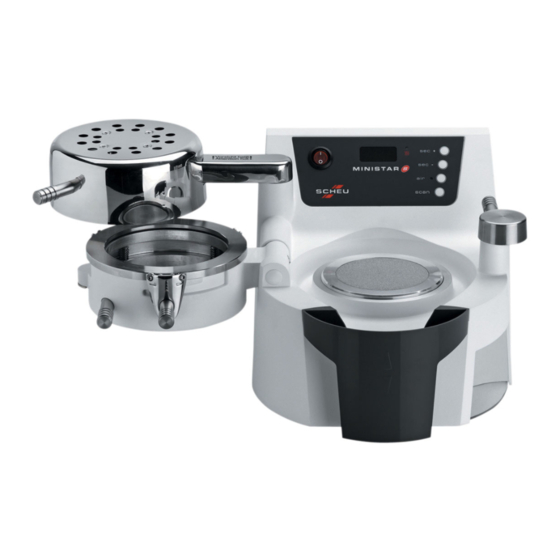
MiniSTAR S with Scan Technology Maintenance Tips
Pellets will become dirty with regular use.
Clean pellets by placing them in a strainer
and rinsing with hot water. Spread pellets
on a towel and let air dry before placing
them back in the MiniSTAR S. Check pellets
monthly. Discard and replace pellets in the
bottom third of the cup.
B
Clean and inspect top of the
chamber sealing ring (A) and
side gasket (B) every 4-6
months. Clean gasket with a
soft cloth. Check potential
gasket cuts or irregularities.
®
A
B
C
B
A
Adjusting ring should move freely
in the chamber. If not, apply a thin
coat of Silicone Grease (016-021)
to outer ring of the chamber (A),
4 spring-loaded adjusting pins (B),
and outside edge of adjusting ring
(C).
A regular maintenance schedule should be followed. Proper
maintenance will assure better fabrication results. Refrain
from using water in the MiniSTAR S machine. Water may
cause certain components to rust or corrode. When the
machine is not being used, engage the clamping frame to
the chamber and position the chamber on the pellet cup.
This prevents lab dust from entering the pellet cup and
chamber.
Air escape holes are present in the base of the pellet cup and
should be checked monthly to ensure that they remain open.
Use a .036" diameter or smaller wire to open plugged holes.
B
SMPP67Rev121611
B
Check the air filter clamped
to air line monthly for discol-
oration and/or moisture. If
replacing the filter, turn off the
air source and bleed the high-
pressure hose of air. Loosen
clamps holding the filter and
slide it off the hose. Position
the new filter by referencing
the arrow on the filter case
toward the back of the
MiniSTAR S.
1.800.828.7626
greatlakesortho.com
S-302
The heating surface (A) should
be parallel to the heating
element (B). Adjust the position
of the chamber by turning the
screw (C) located under the
chamber support frame with
a small screwdriver. Clockwise
adjustment of the screw lowers
the chamber from the heater,
counter clockwise raises the
chamber closer to the heater.
Check the position of the
chamber when heating
materials.
B
A
C