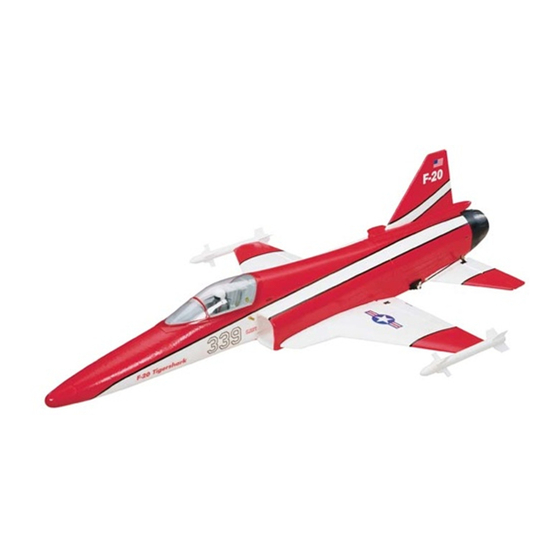
GREAT PLANES EP F-20 Tigershark ElectriFLy Instrukcja obsługi - Strona 12
Przeglądaj online lub pobierz pdf Instrukcja obsługi dla Zabawka GREAT PLANES EP F-20 Tigershark ElectriFLy. GREAT PLANES EP F-20 Tigershark ElectriFLy 16 stron.

Set the Control Throws
❏
1. Use a ruler, protractor, Great Planes AccuThrow
inclinometer to accurately measure and set the control throw
of each control surface as indicated in the chart that follows.
If your radio does not have dual rates, we recommend setting
the throws at the low rate setting.
Note: The throws are measured at the widest part (root) of
the elevators and ailerons.
❏
2. Depending on your radio, you may have to adjust
the mechanical position of the pushrod linkages in order
to achieve the proper throw. This is preferred to adjusting
AFR, ATV, or servo end-points in the transmitter because it
preserves the control resolution of the servo and allows for
better control of the model.
❏
3. Tighten all screw-lock pushrod connectors and install
all servo arm mounting screws.
These are the recommended control surface throws:
HIGH RATE
Up
3/8"
ELEVATOR
[10mm]
14˚
Up
3/8"
AILERONS
[10mm]
11˚
Note: Use high rate elevator for takeoffs and landings.
LOW RATE
Down
Up
Down
3/8"
1/4"
[10mm]
[7mm]
[7mm]
14˚
10˚
Down
Up
Down
3/8"
1/4"
[10mm]
[7mm]
[7mm]
11˚
7.5˚
At this stage the model should be in ready-to-fl y condition.
Place the battery in the battery tray but do not connect it.
❏
1. The C.G. is located 3-3/4" [95mm] back from the
LE of the wing at the fuselage (the seam where the wing
panels have been joined to the fuselage). Make a small mark
at this location on the top side of the wing using a felt-tipped
pen or a piece of trim tape. Please fl y the model at this C.G
for the fi rst few fl ights. After this, you may move the C.G.
forward up to 1/8" [3.2mm] or aft up to 1/16" [1.6mm].
™
, or
❏
2. With all parts of the model installed (ready to fl y), place
the model upside-down on a Great Planes C.G. Machine, or
lift it upside-down at the balance point you marked.
❏
3. If the tail drops, the model is "tail heavy" and the battery
pack must be shifted forward to balance. If the nose drops, the
model is "nose heavy" and the battery pack must be shifted
back to balance. If you still cannot achieve the recommended
C.G., you may add segmented lead weight to the nose or tail
(GPMQ4485). The C.G. range of this airplane is from 3-5/8"
[92mm] to 3-13/16" [97mm] as measured from the LE of the
wing at the root.
1/4"
10˚
1/4"
7.5˚
12
Balance the Model (C.G.)
