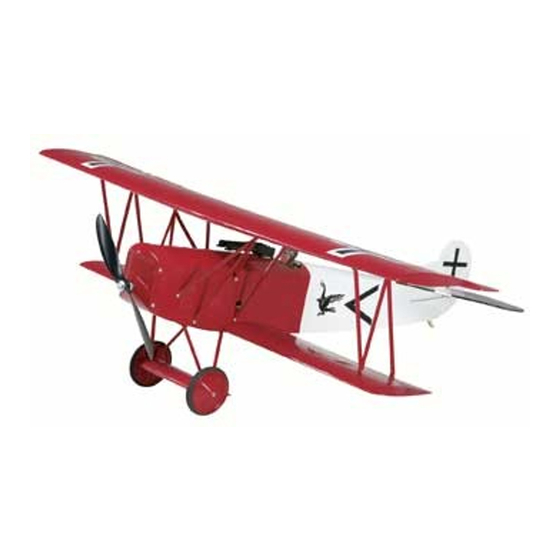
GREAT PLANES Fokker D.VII ARF ElectriFly Instrukcja obsługi - Strona 10
Przeglądaj online lub pobierz pdf Instrukcja obsługi dla Zabawka GREAT PLANES Fokker D.VII ARF ElectriFly. GREAT PLANES Fokker D.VII ARF ElectriFly 20 stron.

❏
4. Attach the RimFire motor to the back of the plywood
motor mount with three 3mm x 6mm [1/8" x 15/64"] machine
screws. Apply a drop of threadlocker on the threads of the
machine screws. Insert each of three 3mm x 30mm [1/8" x 1-3/16"]
machine screws through a 3mm [1/8"] washer, the outer holes
of the motor mount, another 3mm [1/8"] washer, a 17mm
[21/32"] tube, and another 3mm [1/8"] washer as shown in the
drawing. Apply a drop of threadlocker on the threads of each
screw and install the motor mount to the firewall.
❏
5. Install a 3.5mm [9/64"] Bullet (male) to 2mm [5/64"]
Bullet (female) connector adapter (GPMM3122) on each of
the motor leads. Connect the motor leads to the ESC. Push
the wires up into the fuselage to prevent them from
contacting the rotating motor case.
Install the Linkages
❏
1. Use a sharp hobby knife to trim the covering from over
the small rectangular holes towards the LE of the rudder and
the bottom of the elevator as shown. Do not cut all the way
through the rudder or elevator.
❏
2. Test fit the control horns in the holes so that they are
perpendicular to the control surface. Once satisfied with the
fit, use CA to secure the control horns in place.
❏
3. Insert the two 460mm [18"] wire pushrods into the
outer pushrod tubes at the rear of the fuselage as shown.
10
