HiBoost Mini F08GI-5S-BTW Podręcznik użytkownika - Strona 7
Przeglądaj online lub pobierz pdf Podręcznik użytkownika dla Przedłużacz HiBoost Mini F08GI-5S-BTW. HiBoost Mini F08GI-5S-BTW 14 stron.

3.6 Install the Server (Indoor) antenna
If you use the built-in antenna ,please ignore this step .
Connect one end of the coaxial cable to the antenna and the other end to the cellular
booster where it is marked "Indoor".
Select the installation location of your supplied server (indoor) antenna based on the
following:
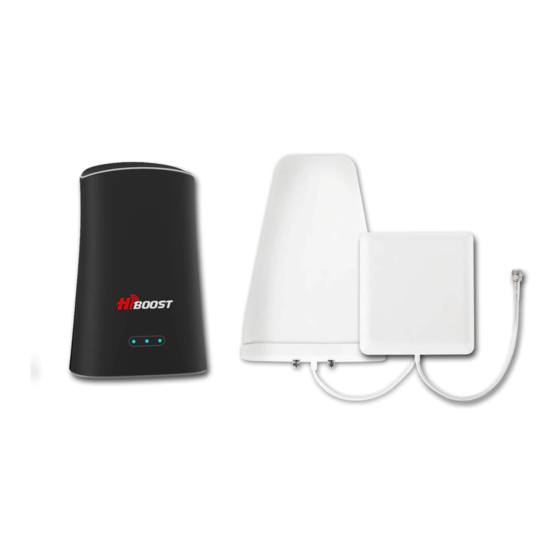
Omni directional antenna
Place in the center of the area where the signal needs to be amplified.
Panel directional antenna
Place in the outer perimeter of the area the signal needs to be amplified.
3.7 Install your cellular booster
Install the cellular booster in a location that is properly ventilated and not exposed to
excessive heat, moisture and/or direct sunlight. The optimal area would be on a wall
located near a power outlet.
It should be mounted in an easily accessible area so it's easy to perform general
maintenance with the coaxial cable connections, dip switch settings and power
adaptor.
Make sure all cables and antennas are securely connected before commissioning the
system.
3.8 Power up your cellular booster
Once all the Following precautions have been taken, power on the cellular booster.
1. Verify that you have left at least 1 meter of vertical separation space between the
indoor and outdoor antennas.
2. Never point the front of the yagi donor (outdoor) antenna towards the inside of
the server (outdoor)antenna.
3. Verify that the supplied coaxial cables from both the donor (outdoor) antenna and
the server (outdoor)antenna are properly connected to the cellular booster before
powering it up.
4. Carefully plug in the supplied power adaptor into the back of the cellular booster
where it is marked 'DC 12V' and connect the other end to a power outlet.
The LED indicator marked power should light up green.
7 / 14
