GAI-Tronics PHP400 Projekt, instalacja i instrukcja obsługi - Strona 5
Przeglądaj online lub pobierz pdf Projekt, instalacja i instrukcja obsługi dla Telefon alarmowy GAI-Tronics PHP400. GAI-Tronics PHP400 20 stron. Analogue version (1090/1099 series) with ampetronic hls-dm2 induction loop amplifier 230v ac power supply
Również dla GAI-Tronics PHP400: Instrukcja instalacji i obsługi (20 strony), Instrukcja instalacji i obsługi (20 strony)
Before Installation
3.
IMPORTANT
THESE UNITS MUST BE CONFIGURED BEFORE THEY ARE INSTALLED.
All units have identical settings as factory defaults, so each one must be individually
configured to give it a unique identity on the network. This may be difficult to do after
the units are installed.
IMPORTANT: After changing the IP address of the telephone you will need to browse
to the new IP address to access the configuration, instead of the default 192.168.1.2.
IMPORTANT: If DHCP is enabled, ensure that there is a suitable DHCP server available
on the network and that you have a means by which to discover the IP address of the
telephone allocated by the DHCP server. There is no other way to access a DHCP
enabled VoIP telephone over the network without being able to find the IP address
allocated by the DHCP server.
Opening the Unit
3.1.
To open the case, undo the 4 security screws around the edge of the unit. These screws
are normally Torx type with a centre security pin.
The front section is fitted over the rear section and can be gently lifted clear.
Take care when separating the 2 sections – there are up to 4 cable sets between the
2 halves:
1. Induction loop audio (2 conductors)
2. DC power (2 conductors)
3. Earth cable
4. Ethernet cable (if already through one of the cable entries in the rear section).
These cables are deliberately short, but will allow the front section to sit to the left of the rear
for set-up purposes.
Initial Network set-up
3.2.
Factory default settings are:
Item
DHCP
IP address
Net mask
Log in User Name
Log in Password
Serial port settings
Hostname
These settings must be changed prior to installation: as a minimum the unit must either be
set to DHCP or assigned a unique static IP address.
Default setting
OFF
192.168.1.2
255.255.255.0
user
password
115200 baud, 8 data bits, 1 stop bit, no
parity, no handshaking.
Each unit has a unique hostname (set to
the serial number of the main PCB)
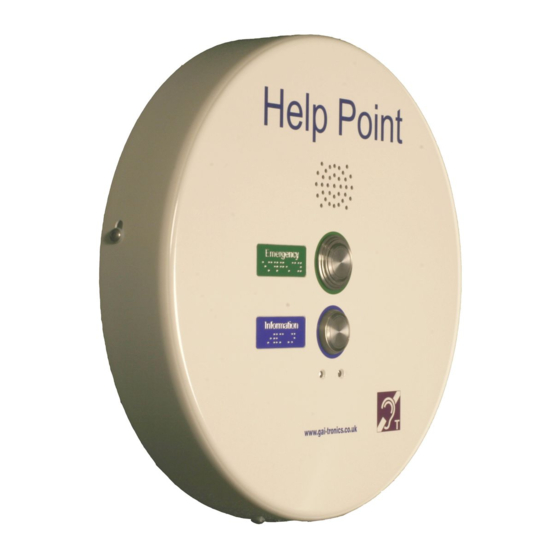
400mm VoIP Help Point, 48V VoIP.
5