Hifonics CYCLOPS 3K Instrukcja obsługi produktu - Strona 7
Przeglądaj online lub pobierz pdf Instrukcja obsługi produktu dla Wzmacniacz Hifonics CYCLOPS 3K. Hifonics CYCLOPS 3K 13 stron. Mt olympus
D. SettINg uP SYSteMS tO MaxxIMIze
12
PerfOrMaNCe
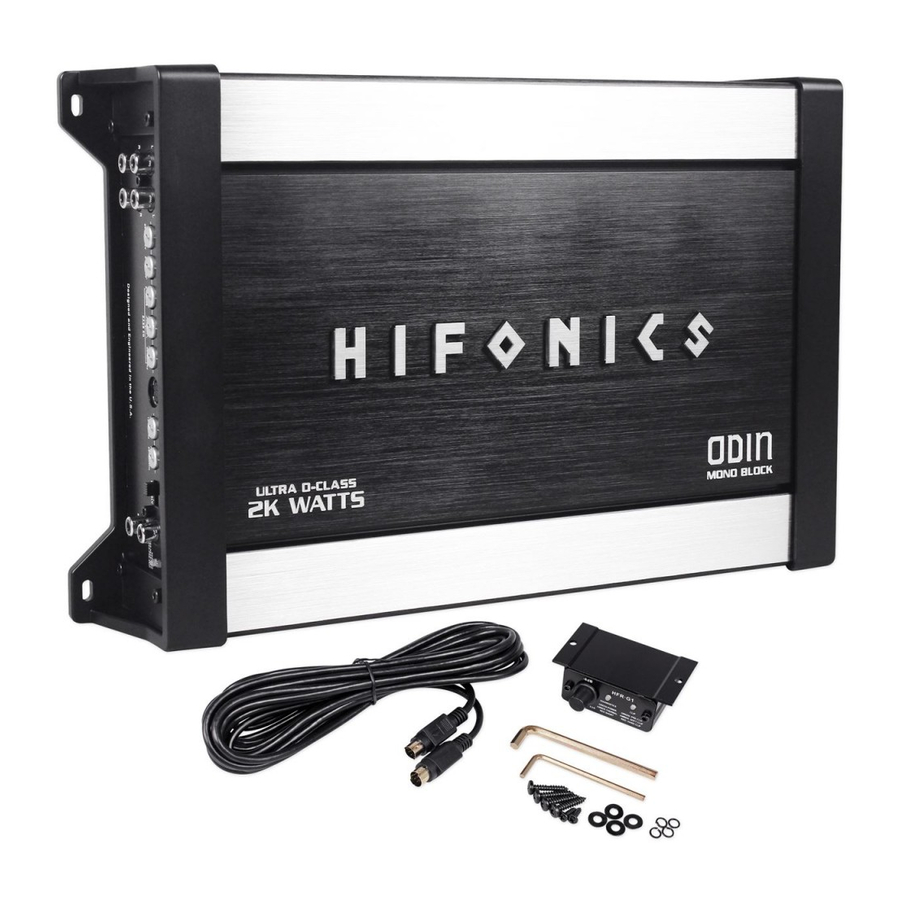
ODIN 2K & CYCLOPS 3K
general:
At this point you are ready to get more specific on the settings for the amplifier.
Phase:
Time alignment, typically recommended at 0 degrees unless using multiple amps and subs in both the front
and rear of the vehicle. The Phase can be adjusted to give the perception of bass reaching the listener at
the same time regardless of location.
Subsonic:
This setting acts as a low frequency cut off for your system bass reproduction. The point that you set it at
cuts off any frequencies from reproduction below this point.
exaMPLe:
If you adjust the Subsonic to 25Hz, the amplifier will not play frequencies below 25Hz
but will play frequencies from 25Hz to the chosen Low Pass frequency.
ParaMetrIC baSS eQ
frequency:
This setting is used for selecting the frequency you want to focus your enhancement on. Suggested
enhancement is from 35-45Hz, but you should be careful not to set enhancement below the F3 or -3dB point
of your sub/enclosure combo.
BOOST
WIDTH
CENTER
0
10dB
30 100Hz
BASS EQ
bandwidth:
This setting controls the amount of frequencies included in the Bass Boost. The bandwidth varies from
narrow to wide in a pyramid style boost with the selected Bass Frequency value being the center.
boost:
This setting adjusts the amount of boost on the selected Bass Frequency and Bandwidth. This setting is
variable from 0-10dB. This feature provides impact to your bass, but if not adjusted correctly, it can be over
used and cause damage to your subwoofers and amplifiers. It is best to slowly turn this setting clockwise
until the desired bass impact is felt. It is not recommended to exceed the 12 o'clock position unless listening
at a low volume or a low recording quality as this can result in high distortion and premature clipping.
Low Pass:
The Low Pass control acts as a ceiling and doesn't allow frequencies above the desired setting to
be reproduced.
exaMPLe:
If you adjust the Low Pass to 80Hz, the amplifier will not play frequencies above
80Hz but will play frequencies from 80Hz to the chosen Subsonic frequency.
Level Control Setup:
Ensure that the Level is turned completely to the left prior to turning the system on. Next you should insert a
CD or other source material that you are familiar with to use as a reference, and turn the head unit volume
control to about 80% of its full setting. The system sound level will of course be very low, and the following
procedures will help you to match the amplifier input sensitivities properly to the head unit output signal level.
It is important to match the amplifier LeVeL input sensitivity to the Radio/CD output sensitivity. This can be
located in the Radio/CD or other source unit owner's manual.
If the Radio/CD output sensitivity is 2 volts, then adjust the amplifier LeVeL input to 2 volts.
If you are not sure what the radio output sensitivity is, follow these
general guidelines:
Turn the level control up slowly, until you hear distortion, then back off a few degrees on the control. If at any
point your amplifier goes into protection, you will need to turn the LEVEL to the left a bit and then try again.
If you reach a point where the output does not increase, stop turning the LEVEL control to the right as the
amplifier/subwoofer combo has reached its maxx output in this application.
13