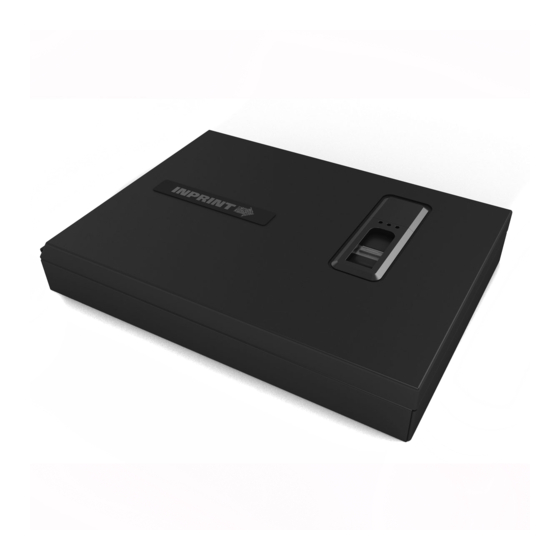
9g Products INPRINT-MICRO Instrukcja obsługi - Strona 6
Przeglądaj online lub pobierz pdf Instrukcja obsługi dla Kontrolery dostępu IP 9g Products INPRINT-MICRO. 9g Products INPRINT-MICRO 12 stron.

4
STEP
A/C Power: Using the A/C power supply adapter
allows the sensor to skip the waking process that
is necessary when utilizing backup battery power
only. Connect the A/C power supply adapter to
the A/C jack on the right side of the INPRINT-
MICRO and plug the A/C power supply adapter
into an electrical outlet.
5
STEP
The enrollment process is extremely
important. Please take your time and
become familiar with this process.
To begin the enrollment process, locate the
Administration Button above the 9g label (Ref
Fig 3). This is the same button used to erase the
memory in the last step but rather than holding the
button you will press and release it.
Press the button once using the included straight
tool or paperclip. (Do not hold the button down)
This will cause the GREEN light to appear solid
indicating it is ready to enroll. During enrollment,
the YELLOW light indicates you should swipe your
finger. Swiping should be done with the finger as
flat as possible, centered on the sensor. (Fig 4)
Start with the first joint of the finger and using an
even, moderate speed pull the finger across the
sensor. The INPRINT-MICRO will ask you to swipe
the same finger at least five times in order to
successfully enroll. If a RED light comes on during
the process it indicates the previous scan was
not successful. Do not restart the process, just
continue to swipe when the YELLOW light
comes on.
TIP: Finger must be FLAT on sensor
6
fig .3
fig .4
and pressed FIRMLY during swipe.
