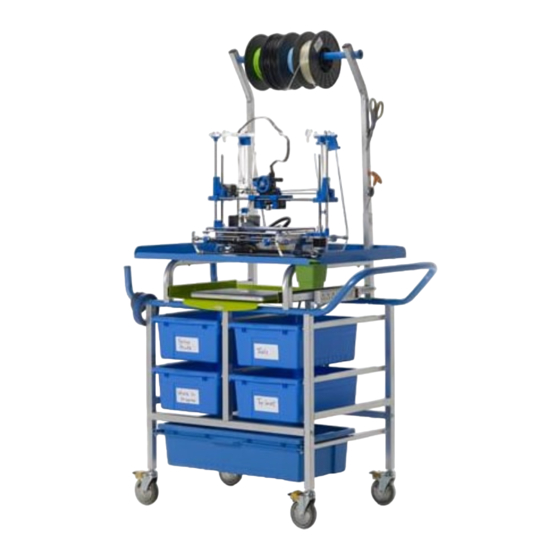
Copernicus TD5000 Instrukcja montażu - Strona 11
Przeglądaj online lub pobierz pdf Instrukcja montażu dla Wózek zewnętrzny Copernicus TD5000. Copernicus TD5000 12 stron. 3d printer cart premium
Również dla Copernicus TD5000: Instrukcja montażu (12 strony)

Actual Size:
11
You will need:
Install Tiny Tub in Holder
Actual Size:
12
You will need:
Attach Power Bar
Attach Power Bar to the cart by using the supplied double sided tape. Install on the same side as
the handle. Install on the be stretcher shown below. Wrap cord around hooks on back of unit.
1
11
TD5000-TD5001 - Version A - Released 15 December 2014 - Copernicus Educational Products Inc.
(Not to Scale)
Tiny Tub
1x
(CC4072)
(Not to Scale)
Power Strip
1x
(25515)
2
3
