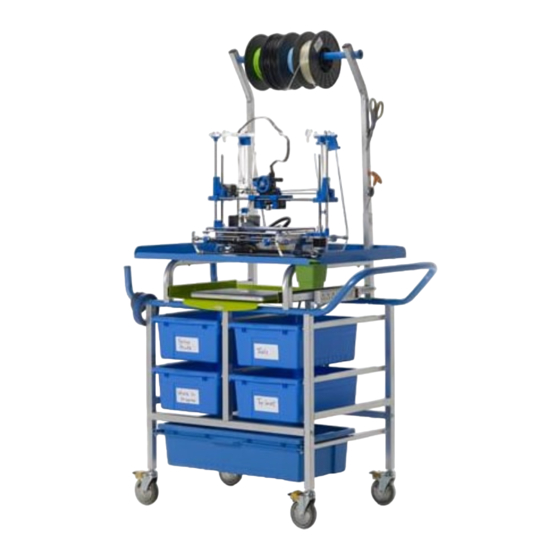
Copernicus TD5000 Instrukcja montażu - Strona 9
Przeglądaj online lub pobierz pdf Instrukcja montażu dla Wózek zewnętrzny Copernicus TD5000. Copernicus TD5000 12 stron. 3d printer cart premium
Również dla Copernicus TD5000: Instrukcja montażu (12 strony)

Actual Size:
7
You will need:
Attach Top Drawer Stretchers
Do not fully tighten hardware until the end of Step 8.
Note channels
face inward
Actual Size:
8
You will need:
Install Laptop Tray
Slide Laptop Tray into drawer slides.
Tighten hardware from Step 7.
9
TD5000-TD5001 - Version A - Released 15 December 2014 - Copernicus Educational Products Inc.
(Not to Scale)
H
A
H
A
(Not to Scale)
Laptop Tray
(drawer slides attached)
1x
A
4x
Top Drawer Stretcher
2x
H
A
H
A
4x
H
Note orientation of
Top Drawer Stretchers.
They face front of cart,
opposite to the cable
hooks on the back.
Pull the tray out slowly to ensure
that the drawer has been fully
locked in.
