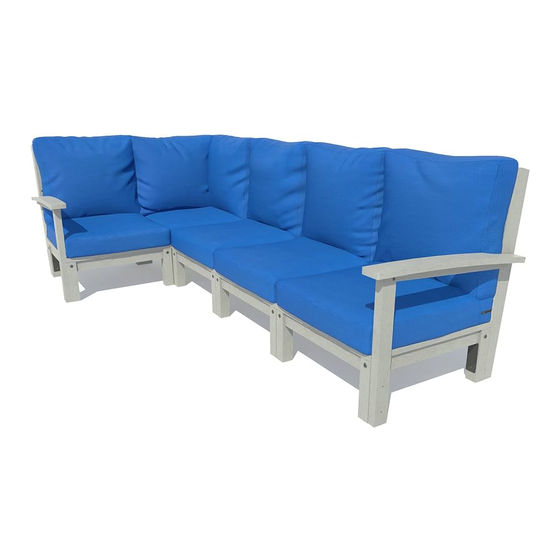
highwood Bespoke Deep Seating Instrukcja montażu - Strona 3
Przeglądaj online lub pobierz pdf Instrukcja montażu dla Wyposażenie wnętrz highwood Bespoke Deep Seating. highwood Bespoke Deep Seating 8 stron.

Your new Highwood Deep Seating set requires multiple assembly steps. These steps are outlined below.
It is important to follow these steps in order as you proceed through this assembly guide to ensure a
smooth assembly process.
1.
Unpack pallet(s) and organize boxes in stacks. There is a white label on each box denoting the
box's contents (e.g. back, arms, seat, etc.).
2.
Assemble all seat bases.
3.
Connect all backs to their respective seat bases.
4.
Connect arms to seat/back where desired.
5.
Connect seats together to build a couch or sectional.
Seat Base / Ottoman Assembly
1) Attach leg to seat base using (2) A
bolts. Holding each leg in place and
drilling a 3/16" pilot hole, 1-1/2" deep
in the seat base will assist in driving
the bolts.
2) Repeat for remaining (3) legs.
Note: Each leg has an upper and lower
hole. Orient legs to ensure bolts are
aligned horizontally on each side of the
seat. See illustration to the right.
Note elevation of bolts across multiple seat bases. When
assembling multiple seat bases, ensure legs are orientated
consistently to prevent misalignment of bolts as shown below.
For information on Care and Cleaning or to Register your
highwood product, please visit www.highwood-usa.com.
SEAT TOP
CORRECT
A
LEG
INCORRECT
AD-DS-KIT
08.25.2021
Page 3 of 8
