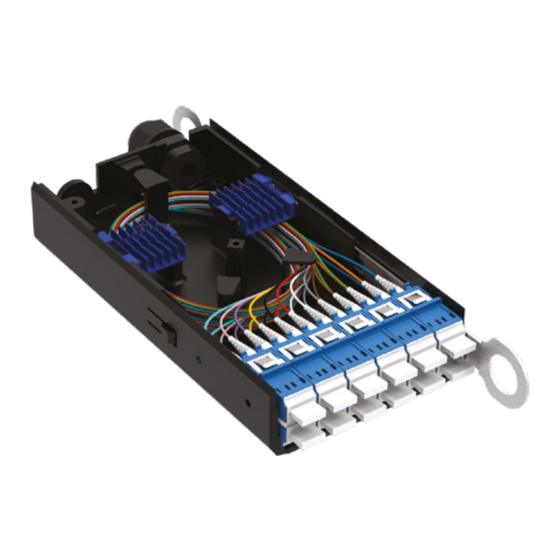
AFL Hyperscale 6RU Instrukcja instalacji - Strona 6
Przeglądaj online lub pobierz pdf Instrukcja instalacji dla Sprzęt komputerowy AFL Hyperscale 6RU. AFL Hyperscale 6RU 12 stron. Front-access v-panel
Również dla AFL Hyperscale 6RU: Instrukcja instalacji (20 strony), Instrukcja instalacji (16 strony)

Panel Mounting
6U
Insert the cage nuts (06), in positions shown
5
above, on both the left and right hand sides of
the rack.
Slotted bracket for
ease of installation
Mount the panel (01) onto the rack and
7
tighten the cage nut screws (06) using a
screwdriver.
6
© AFL Hyperscale. All rights reserved
2U
2U
Partially tighten the cage nut screws (06) in the
6
positions shown (left- and right-hand side) using
a screwdriver.
8
Insert the remaining cage nut screws (06) using
a screwdriver.
Series
