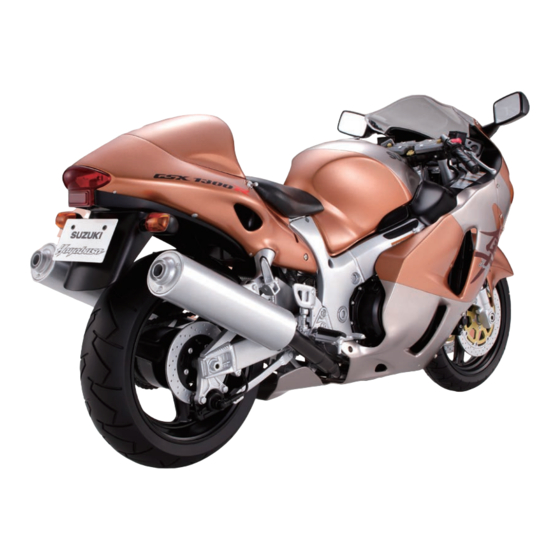
Deagostini MODEL SPACE SUZUKI GSX 1300R HAYABUSA Instrukcja montażu - Strona 3
Przeglądaj online lub pobierz pdf Instrukcja montażu dla Zabawka Deagostini MODEL SPACE SUZUKI GSX 1300R HAYABUSA. Deagostini MODEL SPACE SUZUKI GSX 1300R HAYABUSA 11 stron. Pack 03
Również dla Deagostini MODEL SPACE SUZUKI GSX 1300R HAYABUSA: Instrukcja montażu (13 strony)

SUZUKI GSX 1300R Hayabusa: Assembly Guide
STAGE 08
The right front
brake, front
wheel and forks
Tools
Cross wrench
24
Your parts
Prepare
Front wheel assembly (Stage 4)
Forks (Stage 7)
Brake disc (Stage 7)
2.3 × 8mm hex cap screws × 2 (Stage 7)
Area you are working on
Brake disc
Right front brake caliper
Front axle (front axle nut
already installed)
Useful tool
Multi-purpose adhesive
Detail
The axle shaft, the point of rotation of
the front wheel, is held in place by the
axle nut. It was developed by Suzuki's
motor sport division, and designed for
durability and reliability to support the
world's fastest motorcycle.
1
Prepare the front wheel assembly from Stage 4 and the
brake disc from Stage 7. Place the brake disc on one side of
the front wheel, fitting the projection on the disc into the
recess on the wheel, both circled in the inset.
