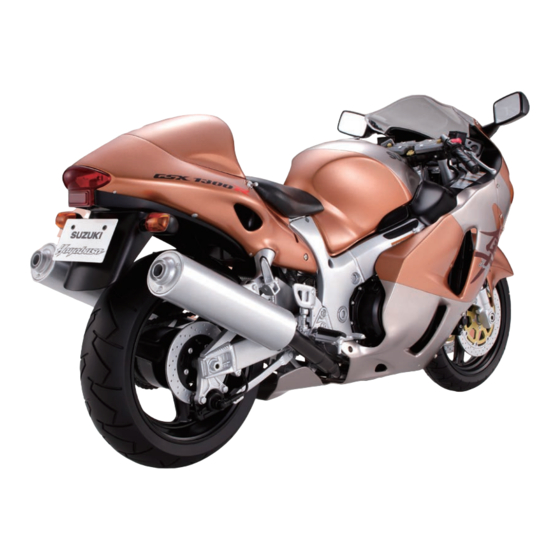
Deagostini MODEL SPACE SUZUKI GSX 1300R HAYABUSA Instrukcja montażu - Strona 5
Przeglądaj online lub pobierz pdf Instrukcja montażu dla Zabawka Deagostini MODEL SPACE SUZUKI GSX 1300R HAYABUSA. Deagostini MODEL SPACE SUZUKI GSX 1300R HAYABUSA 11 stron. Pack 03
Również dla Deagostini MODEL SPACE SUZUKI GSX 1300R HAYABUSA: Instrukcja montażu (13 strony)

SUZUKI GSX 1300R Hayabusa: Assembly Guide
10
Turn the assembly over again, so that the
right side is facing up. Align the circled
holes of the right brake caliper with the
corresponding holes in the front fork.
14
Using the cross wrench, tighten the
second 2.3 × 8mm hex cap screw into the
hole. The brake caliper may still be a little
loose, but this is fine for the moment.
26
11
Insert one of the 2.3 × 8mm hex cap
screws received with Stage 7 into the
upper hole (arrow).
Stage complete!
This stage is now complete. The front brake
discs, wheel, forks and right brake caliper
have all been assembled. Be sure to check
that the orientation of the tread pattern on
the tyre matches the one shown above.
12
Tighten the hex cap screw into the hole
with the cross wrench from Stage 7.
What to do if the holes in the cross wrench wear
The hexagonal holes of the cross wrench can wear with use. If the wrench is not
gripping the hex cap screws, you can adjust it as shown below.
A
B
Insert the head of a 2.3 ×
Apply a small amount of
8mm hex cap screw into
instant adhesive to the tip
the corresponding hole of
of a toothpick.
the cross wrench, and turn
to see if the wrench grips it
properly.
13
Insert a 2.3 × 8mm hex cap screw into the
lower hole.
C
Spread a layer of adhesive
over the inside surface of
the hole in the wrench,
and leave to dry. Then try
Step A again to check that
the wrench now grips the
screw. If not, repeat Steps
B and C.
