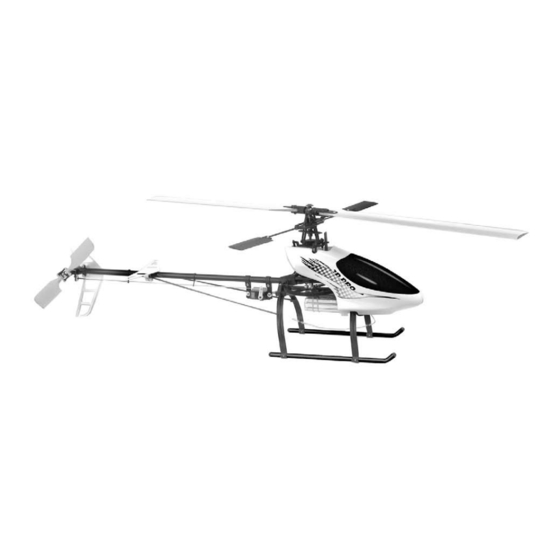
Century Helicopter Products Hummingbird Elite 3D Pro Instrukcja montażu i obsługi - Strona 6
Przeglądaj online lub pobierz pdf Instrukcja montażu i obsługi dla Zabawka Century Helicopter Products Hummingbird Elite 3D Pro. Century Helicopter Products Hummingbird Elite 3D Pro 12 stron.
Również dla Century Helicopter Products Hummingbird Elite 3D Pro: Instrukcja obsługi (10 strony)

Section 8: Main Rotor Head Assembly
Bags Used:
CNE303, CNE313, CNE201, CNE302, CNE304, CNE207
Main rotor head assembly (8-1, 8-2, 8-3, 8-4, 8-5)
25) Place the two
Rubber Dampeners
the
CNC Rotor
Hub. Insert the
Dampeners.
Note: The
Head Axle
has a hole in the center which must align with
the
CNC Rotor
Hub. Hold it up to the light you should be able to see
through the holes and insert the
26) Insert the supplied
Jesus Pin
the
Head
Axle. Tap or press with hobby pliers. Insert one of the
Large Black Washers
from parts bag CNE201 followed by a
Brass Washer
onto the
Head
other side of the
CNC Rotor
27) Open parts bag CNE302
the
Head Axle
using the
M2x5 Machine Screws
Check for tightness in the pre-installed bearings by moving the
Main Blade
Grips. If the movement is rough then the screws are
in too tight. Once smooth, place small drop of locktite onto the
threads of the screws completing the
28) Insert the
Outer Seesaw Assembly
Assembly.
Note: The set screws installed on the
be oriented upright.
29) Align the
Center Pivot
Joiner,
Seesaw Assembly
in order to insert CNE304
Assembly. Insert
Seesaw
30) Measure the length of the Flybar.
on both sides of the
CNC Rotor
by tightening the
M3x3 Set Screws
Assembly. Do not over-tighten the
causing damage to the
Outer Seesaw
31) Put a "Dab" of medium CA to the thread on each end of the Flybar.
Thread the CNE207
Flybar Paddles
end of the
Flybar
Thread. Check the length of the completed
Flybar
with
Flybar Paddles
32) Align the
to the
Flybar Paddles
Note: The
Seesaw Assembly
method will enable you to find the correct (zero) pitch for the
Paddles. Place small loose parts in a container for future use.
8-4
6
in the circular openings of
Head Axle
inside the
Rubber
Jesus
Pin.
into the
to secure
CNC Rotor Hub
Axle. Repeat the process on the
Hub.
Main Blade
Grips. Install each grip over
found in CNE201.
Main Blade Grip
assembly.
over the
Inner Seesaw
Outer Seesaw Assembly
Inner Seesaw Assembly
Flybar
through the
through all of the above.
Flybar
Flybar
must be even in length
Hub. Secure the
Flybar
in each side of the
Set Screws
here to avoid
Assembly.
onto the
Flybar
flush to the
installed ensuring each side is equal.
(8-5).
Seesaw Assembly
will act as your paddle pitch gauge, this
Flybar
#CNE304
Flybar Threads
Top Of
M2x5 Machine
Blade
Screw #CNE201
Grip
Small
Bottom
Of Blade
Grip
Outer Seesaw
Assembly
should
#CNE306
and
Outer
in place
Seesaw
Flybar
#CNE304
M3x3 Set
Screw
Flybar
#CNE306
8-5
Flybar Paddle & Seesaw Assembly must align parallel.
Rubber
Dampener
#CNE201
8-1
Jesus Pin
#CNE201
Head Axle
#CNE201
8-2
8-3
Seesaw
Flybar Paddle
Assembly
#CNE207
#CNE306
Large Black
Washer
#CNE201
Small Brass
Washer
#CNE201
Main Blade
Grip #CNE302
Bearing
#CNE213
Seesaw
Assembly
#CNE306
M3x3 Set
Screw
#CNE306
