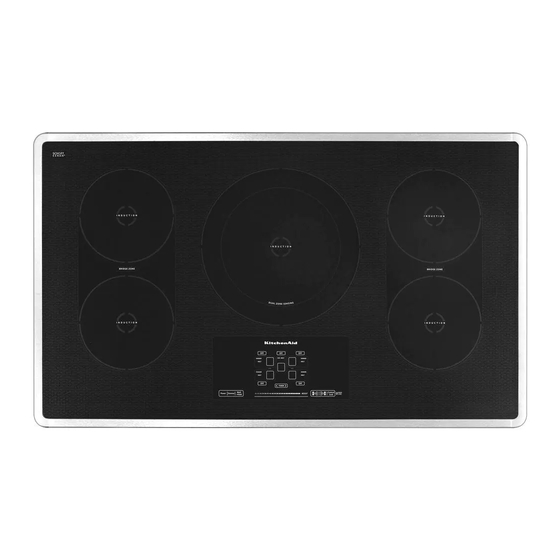
KitchenAid KICU509 Series Instrukcja instalacji - Strona 4
Przeglądaj online lub pobierz pdf Instrukcja instalacji dla Płyta grzewcza KitchenAid KICU509 Series. KitchenAid KICU509 Series 12 stron. 30" (76.2 cm) and 36" (91.4 cm) electric induction cooktop
Również dla KitchenAid KICU509 Series: Instrukcja instalacji (16 strony)

If the house has aluminum wiring, follow the procedure below:
1. Connect a section of solid copper wire to the pigtail
leads.
Prepare Location
1. Decide on the final location for the cooktop.
NOTE: Countertop must be 1
2. If necessary, make cutout in countertop before installing
cooktop. See "Location Requirements" section for more
information.
3. Clean cutout of any remaining dust and debris.
Install Brackets
NOTE: Kit Part Number W10310006 is required for installing the
cooktop into a solid surface or marble countertop. See the
"Assistance or Service" section of the Use and Care Guide for
information on ordering.
To Install Brackets into Marble Countertop:
1. Clean the brackets and cooktop cutout of any dust and
debris.
2. Measure the center line of the vertical sides of the cooktop
cutout.
3. Apply the adhesive provided in the kit to the back side of the
brackets.
4
INSTALLATION INSTRUCTIONS
" (3.0 cm) to 2" (5.1 cm) thick.
Center line
2. Connect the aluminum wiring to the added section of
copper wire using special connectors and/or tools
designed and UL listed for joining copper to aluminum.
Follow the electrical connector manufacturer's recommended
procedure. Aluminum/copper connection must conform with
local codes and industry accepted wiring practices.
4. Position brackets in the center of the vertical centerline and
align the upper edge of the brackets so that they are flush with
the countertop.
5. Push the brackets firmly onto each side of the cooktop cutout
and wait 1 hour for adhesive to dry.
1 h
To Install Brackets into Wood Countertop:
1. Measure the center line of the vertical sides of the cooktop
cutout.
2. Position brackets in the center of the vertical centerline and
align the upper edge of the brackets so that they are flush with
the countertop.
3. Attach the brackets in the cutout with the screws provided.
A
B
A. Bracket
B. Screw
Center line
