Green R/C Model Airplanes Tiger Moth Instrukcja obsługi - Strona 6
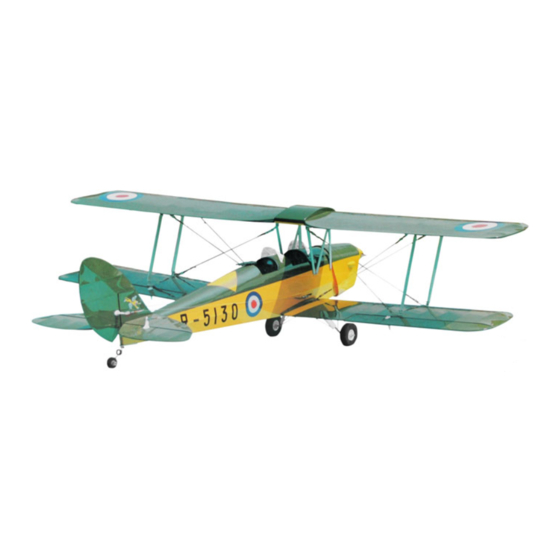
Przeglądaj online lub pobierz pdf Instrukcja obsługi dla Zabawka Green R/C Model Airplanes Tiger Moth. Green R/C Model Airplanes Tiger Moth 11 stron. The unique almost-ready-to-fly scale 1:7 model of great britain's famous wwii training aircraft
Również dla Green R/C Model Airplanes Tiger Moth: Instrukcja obsługi (11 strony)
Step
Step 3. 3. 3. 3. Mount
Step
Mount
Mount
the
the
Step
Mount the
the main
* * * * Open
Bag
Bag 9# 9# 9# 9# and
Bag
Bag
hardware needed. . . .
1) Turn the fuselage up side down again. The wires of the main landing gear assembly may need
spreading to match the fore and the rear slots that are located under the covering.
2) There are holes pre-drilled in the bottom of the fuselage for mounting the main landing gear. You
don't need to cut away the covering in the slots. The gear wire will push the covering into the
slots when you tighten the mounting screws . Leaving the covering in the slots will help keep the
wood from getting oil soaked.
3) Slip the main wheels on the axles and use the four wheel collars (L03) to retain the wheels in
place.
4) Finally, fix the main landing gear assembly in place by tightening the mounting screws (L05) in
the hold-down plates (L04) as shown in Fig. (3).
5)
Step
Step
Step 4. 4. 4. 4. Mounting
Step
Mounting
Mounting the
Mounting
Bag.11#
*Open Bag.11#
Bag.11# to get the tail
Bag.11#
*Open
to get the fin
Bag
Bag
Bag 12#
Bag
12#
12#
12#
*Open
Bag
Bag
13#
13#
to get the rudder
Bag
Bag 13#
13#
1) Mount the control horns onto the rudder and elevator respectively.
2) Place the tail wheel on the tail gear axle and use one of the wheel collars (L08) to retain it in
place. The other collar is used to prevent the gear from moving upward through the hole in the
tail gear mounting plate (L09)
3) Insert the sharp end of the tail-gear strut into the hole pre-drilled in the fin and apply thin CA to
secure it in the fin.
4) Refer to Fig. (4), mount the tail surfaces along with the tail wheel sub-assembly onto the tail end
of the fuselage by inserting the two long tail-surfaces mounting bolts (T03) into the holes &
tubes pre-built in the fuselage and securely tightening the bolts into the nuts
Thus, the complete tail-surfaces are fixed in place.
main
main
landing
landing
gear
gear
main landing
landing gear
gear sub-assembly
main
main
to get the main
main landin
and
and
10#
10#
and 10#
10#
Fig.
Fig.
Fig.
Fig. (4)
(4)
(4)
(4) Assembly
Assembly
Assembly
Assembly of of of of the
1. Elevator
4. Tail gear
7. Tail gear mounting screws
the
the
the tail
tail surfaces
tail
tail
surfaces
surfaces and
surfaces
and
and
and the
tail
wheel
tail wheel
tail
wheel (L06), tail
wheel
fin
fin
fin hinged
hinged
hinged
hinged with
with
with rudder
with
rudder
rudder
control
control
rudder control
control horns
sub-assembly
sub-assembly
sub-assembly
landin
landin
gear
gear
assembly
assembly
assembly (L01) , , , , main
landin gear
gear assembly
the
the
the tail-surfaces
tail-surfaces
tail-surfaces
tail-surfaces and
2. Rudder
5. Tail wheel
8. Tail-surfaces mounting bolt
the
the
the tail
tail
tail
tail wheel
wheel
wheel
wheel
tail
gear
tail
tail gear
gear
gear (L07), and other hardware needed
rudder
rudder
rudder (T01) and the stabilizer
horns
horns
horns (C01) and elevator
6
main
main
wheels
wheels
main wheels
wheels (L02) and other
and the
and
and
the tail
the
the
tail
tail wheel
tail
wheel
wheel
wheel
3. Retaining collar
6. Mounting plate
stabilizer
stabilizer
stabilizer hinged
hinged
hinged
hinged with
elevator
elevator
control
control
horns
horns
elevator control
control horns
horns (C04).
with
with elevator
with
elevator (T02) . . . .
elevator
elevator
nuts
nuts built into the fin.
nuts