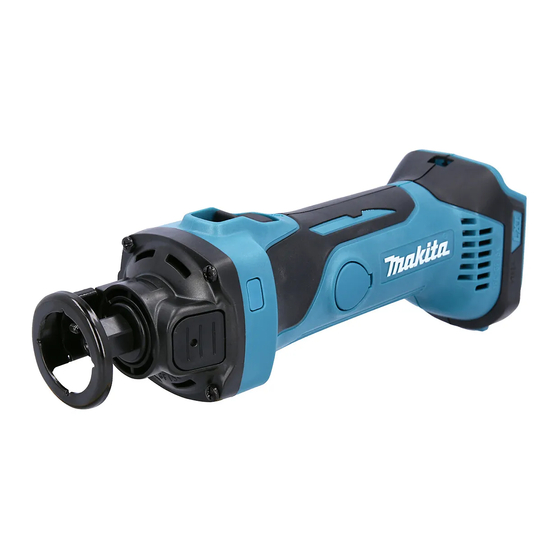
Makita DCO140 Instrukcja obsługi - Strona 10
Przeglądaj online lub pobierz pdf Instrukcja obsługi dla Elektronarzędzie Makita DCO140. Makita DCO140 13 stron. Cordless cut-out tool
Również dla Makita DCO140: Instrukcja obsługi (13 strony), Informacje techniczne (8 strony)

Loosen the thumb screw and remove the shoe. Attach
the vacuum cover, and fasten it securely with the thumb
screw.
The circular guide (optional accessory) can be installed
on the vacuum cover.
2
3
► 1. Tool 2. Vacuum cover 3. Hose 28 4. Hose for
vacuum cleaner 5. Vacuum cleaner
Connect the hose of a vacuum cleaner/dust collector to
the vacuum cover. When connecting to Makita vacuum
cleaner, use an optional hose 28 mm in inner diameter.
2
► 1. Tool 2. Vacuum cover 3. Hose 28 4. Dust
collector
When connecting to Makita dust collector, connect the
hose for the dust collector directly to the dust nozzle.
MAINTENANCE
CAUTION:
•
Always be sure that the tool is switched off and
the battery cartridge is removed before attempt-
ing to perform inspection or maintenance.
•
Never use gasoline, benzine, thinner, alcohol
or the like. Discoloration, deformation or cracks
may result.
5
1
4
1
4
3
Replacing carbon brushes
► 1. Limit mark
Remove and check the carbon brushes regularly.
Replace when they wear down to the limit mark. Keep
the carbon brushes clean and free to slip in the holders.
Both carbon brushes should be replaced at the same
time. Use only identical carbon brushes.
1
2
► 1. Holder cap cover 2. Screwdriver
Insert the top end of slotted bit screwdriver into the notch in
the tool and remove the holder cap cover by lifting it up.
1
2
► 1. Brush holder cap 2. Screwdriver
Use a screwdriver to remove the brush holder caps.
Take out the worn carbon brushes, insert the new ones
and secure the brush holder caps.
Reinstall the holder cap cover on the tool.
To maintain product SAFETY and RELIABILITY, repairs,
any other maintenance or adjustment should be per-
formed by Makita Authorized Service Centers, always
using Makita replacement parts.
10 ENGLISH
1
