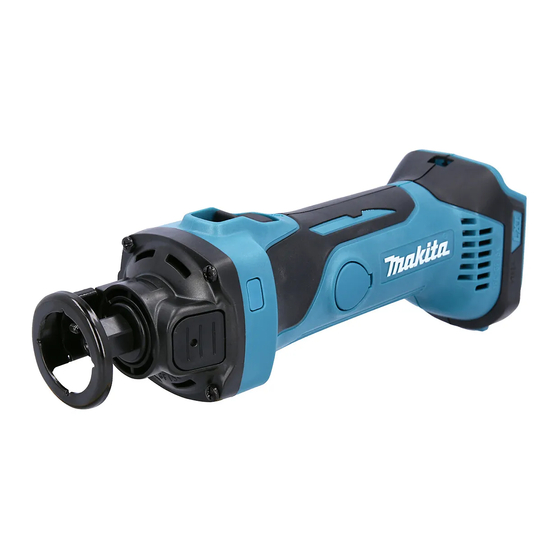
Makita DCO140 Instrukcja obsługi - Strona 8
Przeglądaj online lub pobierz pdf Instrukcja obsługi dla Elektronarzędzie Makita DCO140. Makita DCO140 13 stron. Cordless cut-out tool
Również dla Makita DCO140: Instrukcja obsługi (13 strony), Informacje techniczne (8 strony)

1
2
3
► 1. Collet cone 2. Bit 3. Collet nut
To change the collet cone, loosen the collet nut and
remove. Remove the installed collet cone and replace
with desired collet cone. Reinstall collet nut.
OPERATION
CAUTION:
•
Avoid forcing the bit to bend or twist. It may snap.
•
Before turning the tool on, make sure the bit and
collet nut are securely tightened.
Hold the tool securely with the bit pointing in a safe
direction not contacting any surface. Turn the tool on
and wait until the tool reaches full speed.
When using the drywall guide bit into a drywall, carefully insert
the bit straight until the shoe base contacts the material fully.
Move the tool slowly with a constant pressure in a
clockwise direction to make the cut.
When cutting straight line, clamp a straight board firmly
to the material and use it as a guide. Move the tool in
the direction of the arrow with the shoe base flush with
the side of the guide board.
When the cut is complete, turn the tool off and wait for
the bit to stop rotating and then carefully remove it from
the material.
NOTE:
•
When using this tool, the rotating action causes
the tool to pull. The less pressure applied to the
tool causes less pull and provides a more accu-
rate cut. Excessive pressure or fast cutting can
cause the bit to dull or break premature.
•
When cutting drywall around outlet boxes, cut in
a counterclockwise direction for ease of cut.
•
The standard bit included with this tool is for cut-
ting drywall only. When cutting materials other
than drywall, do not use the standard drywall
guide bit.
Using multipurpose bit (optional
accessory)
When using the multipurpose bit into the material, hold
the tool at approximately a 45 degree angle with the
edge of the shoe base contacting the material.
Bring the tool carefully to a straight position so the shoe
base contacts the material fully.
8 ENGLISH
