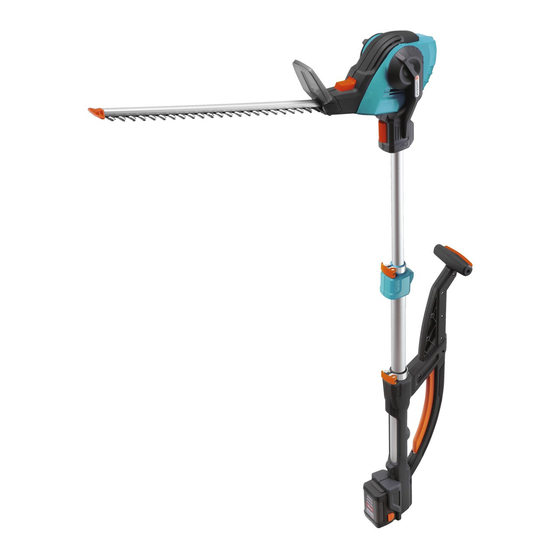
Gardena HighCut 48-Li 8882 Instrukcja obsługi - Strona 7
Przeglądaj online lub pobierz pdf Instrukcja obsługi dla Trymer Gardena HighCut 48-Li 8882. Gardena HighCut 48-Li 8882 15 stron.

Rotate cutting unit
through 90° :
4
Tilting the swivel head :
1
Extending the telescopic
tube :
E D C B
Starting the Hedge Trimmer :
G
F
18
For sideways cutting, the cutting unit can be rotated through 90°.
The cutting unit
handed or left-handed users respectively.
1. Remove the battery from the handle (see 4. Initial Operation).
2. Keep button
3. Turn cutting unit
3
button
3
V Check the lock !
A
4. Put the battery on the handle (see 4. Initial Operation).
A safety device prevents the Hedge Trimmer from starting up when
3
the button
For trimming at high and low level, the swivel head
tilted at an angle of 75° to -45° in 15° increments.
1. Remove the battery from the handle (see 4. Initial Operation).
2. Hold down the button
3. Tilt the swivel head
2
4. Release the button
5. Put the battery on the handle (see 4. Initial Operation).
A safety device prevents the hedge trimmer from starting when
the button is depressed or not engaged
angle exceeds -45° (packing position).
The telescopic tube
trimming at high and low level and can be extended in two
stages to a total length of 62 cm.
1. Remove the battery from the handle (see 4. Initial Operation).
2. Open clamping lever
the length required and close clamping lever
3. Open clamping lever
the length required and close clamping lever
4. Put the battery on the handle (see 4. Initial Operation).
DANGER ! Risk of physical injury !
If the Hedge Trimmer does not switch off auto-
A
matically, there is a risk of lacerations.
V Never override the safety devices (e.g. by
Starting the Hedge Trimmer :
The hedge trimmer is fitted with a two-handed safety device
(2 start buttons) to prevent the unit from being turned on by
accident.
1. Put the battery on the handle (see 4. Initial Operation).
2. Remove the protective cover
4
can be turned to the right or left for right-
3
pressed.
4
90° in the required direction until the
locks into place.
is pressed or not locked in 0° or 90° position.
1
.
2
in the direction wanted.
1
and allow it to engage.
C
E
/
offers continuous extension for
B
, extend the lower telescopic tube
D
, extend the upper telescopic tube
strapping down one of the start buttons).
F
from blade
2
can be
1
or when the tilting
C
B
again.
E
D
again.
G
.
to
to
