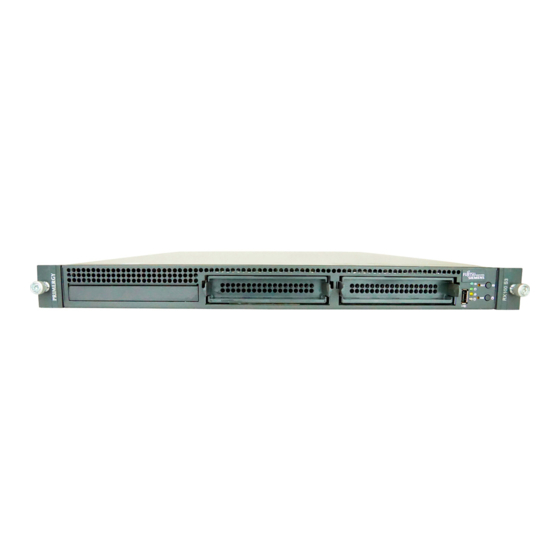
Fujitsu Primergy RX100 S3 Dodatkowa instrukcja serwisowa - Strona 18
Przeglądaj online lub pobierz pdf Dodatkowa instrukcja serwisowa dla Serwer Fujitsu Primergy RX100 S3. Fujitsu Primergy RX100 S3 45 stron.
Również dla Fujitsu Primergy RX100 S3: Instrukcja obsługi (9 strony)

Replacing the LED board
4.2
Replacing the LED board
The PRIMERGY RX100 S3 server's chassis ID is stored on both the LED board
and the system board. If in the event of failure, the LED board or the system
board which has to be replaced must have the chassis ID rewritten.
Beside the CPU temperature sensor and housing temperature sensor provided
on the system board, an ambient temperature sensor is also included on the
LED board. In case of a defective ambient temperature sensor, please replace
the LED board.
Ê Open the server as described in the section "Preparation" on page 17.
Figure 2: Removing the LED board
Ê Remove the two screws (see arrows).
Ê Unplug the cable.
Ê Pull the LED board in the direction of the housing rear side (approx. 1 centi-
meter).
Ê Take the LED board out of the housing.
Ê Push the new LED board into the front panel. Make sure that the buttons and
LEDs fit in the right positions.
18
Service Supplement
Replacement routines
RX100 S3
