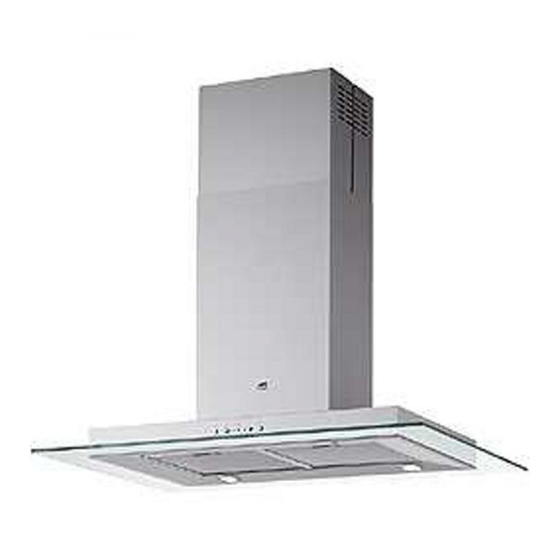
AEG 9600 D Instrukcja obsługi i instalacji - Strona 14
Przeglądaj online lub pobierz pdf Instrukcja obsługi i instalacji dla Okap wentylacyjny AEG 9600 D. AEG 9600 D 16 stron. Cooker hood

Mounting – Figure 7
• Place the outline (1) on the angle above the cooker hood.
• As demonstrated, drill the hole and insert four screw anchors and
four screws (2). Do not screw in the screws completely, because
they act as a hook for the cooker hood.
• Prepare the electrical connections and realize a perforation on the
wall where the cooker hood is required to be mounted in the external
air discharge version.
• Remove the telescopic structure A from the four screws (3), use a
pencil to mark two perforation for the safety screws, remove the
telescopic structure again A, drill both perforations and insert both
the screw anchors (4).
• Adjust the telescopic structure: the three components render
possible a lengthening between 80 and 100 cm (A). When both
upper components (B) are divided in the same way, the structure
may be lengthened between 100 and 120 cm (between 100 and
100.5 cm in the model with the tube).
Only for extractor version
• Fix the deviation plate F for the air circulation with four screws (2 x 2)
on the upper part of the structure A and secure it with a tubing of
suitable length (5) to the cooker hood's discharge.
Only for the filter version
• Ensure that the tube is long enough at the connection ring above the
cooker hood (5).
After selecting the preferred installation, proceed in the
following manner:
• Suspend the box (ensuring that the electrical connection box is on
the side where the command components are to be located) and
screw in the four screws (6). Introduce and screw in both the safety
screws (7).
• Carry out the electrical connection (8).
• Introduce the chimney cap and fix it to the box with two screws (9),
and leave the lower part of the tab momentarily hanging downwards
(10).
• Suspend the cooker hood covering in the box and affix the provided
nut screws (11). Screw in the four screws (10).
• Connect the motor (13a) and the lights (13b), move the lower side of
the chimney cap and fix it to the cooker hood using two screws (14).
14
