A-Neuvideo ANI-2PIP-LOGO Instrukcja obsługi - Strona 6
Przeglądaj online lub pobierz pdf Instrukcja obsługi dla Monitor A-Neuvideo ANI-2PIP-LOGO. A-Neuvideo ANI-2PIP-LOGO 20 stron. 2x1 hdmi multiviewer
Również dla A-Neuvideo ANI-2PIP-LOGO: Instrukcja obsługi (15 strony)

A
NEUVIDEO
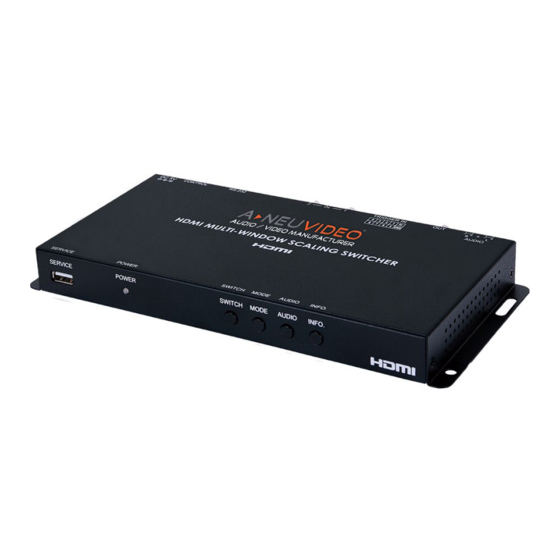
Front Panel
SERVICE:
This port is reserved for firmware update use only.
q
POWER LED:
This LED will illuminate to indicate the unit is on and receiving power.
w
SWITCH BUTTON:
Press to toggle between the two HDMI inputs and output the selected source full screen.
e
NOTE: Press and hold this button for 2 seconds to change the output resolution to 1920x1080p@60Hz.
MODE BUTTON:
Press to sequentially switch between the Full Screen (NONE), Picture-in-Picture (PIP), Side-by-Side (SBS), and
r
Picture- outside-Picture (POP) windowing modes.
NOTE: Press and hold this button for 2 seconds to change the output resolution to 1024x768@60Hz.
AUDIO BUTTON:
Press to toggle between the audio from the (2) HDMI inputs.
t
INFO. BUTTON:
Short press to show the current input/output resolution status, audio selection and IP information. Long press to show
y
the current contrast, brightness, hue, sharpness, color format, chroma and color temperature settings for each source channel.
BACK Panel
AUDIO OUT:
Connect to powered speakers or an amplifier for balanced stereo analog audio output.
q
HDMI OUT:
Connect to an HDMI TV, monitor or amplifier for digital video and audio output.
w
TRIGGER IN:
This 10 pin terminal block provides (8) trigger pins (plus 5V & Ground) for activating pre-designated functions within the
e
unit. Compatible with the optional Trigger Keypad unit.
Pins are numbered from left to right:
TOP ROW
1
Vcc (5V)
2
POP Windowing Mode
3
SBS Windowing Mode
4
PIP Windowing Mode
5
Full Screen Window (Toggle)
HDMI IN 1~2:
Connect to HDMI source equipment such as media players, game consoles or set-top boxes.
r
RS-232:
Connect directly to a PC, laptop or other serial control device to send RS-232 commands to control the unit.
t
CONTROL:
Connect directly, or through a network switch, to your PC/laptop to control the unit via Telnet/WebGUI.
y
DC 5V:
Plug the 5V DC power adapter into the unit and connect it to an AC wall outlet for power.
u
Operation controls & Functions
BOTTOM ROW
6
GROUND
7
Image Freeze (Toggle)
8
Display Logo (Toggle)
9
A/V Mute (Toggle)
10
Window Source Swap (Toggle)
4
