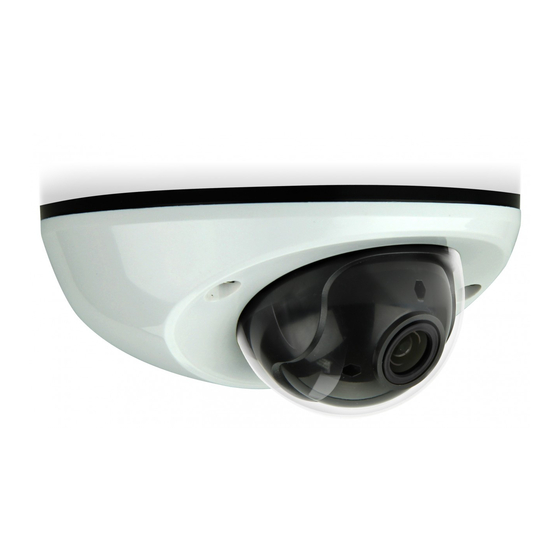
Avtech AVM311 Skrócona instrukcja obsługi - Strona 2
Przeglądaj online lub pobierz pdf Skrócona instrukcja obsługi dla Kamera IP Avtech AVM311. Avtech AVM311 6 stron.

Installation (Continued)
Step 5: Be sure to replace the original desiccant(s) with the new ones. Use
provided double-sided tape to stick the desiccants in place as
illustrated below. Keep them inward enough for the housing to close
nicely. The new desiccants must not be exposed to air for over 30
seconds.
Note: Both the two new desiccants are to be put in the camera to
remove excessive humidity and ensure the camera works well.
Step 6: Then, clear the lens of fingerprints and replace the housing before
tightening the screws on it.
Step 7: Power up the camera.
Camera Configuration
For advanced configuration of your camera, please be sure you have
connected your camera to NVR as shown below:
Focusing the Camera
If you need to adjust the focus, the picture below
shows you how:
Step1: Connect PC to the HUB connected to your camera(s) with RJ45 network cable.
Step2: Search available devices with "IPScan.exe"; to download "IPScan.exe", please visit
www.surveillance-download.com/user/IPscan.zip
Step3: After searching, set your PC in the same network segment as the specific camera you want to access, such as
"192.168.30.xxx" (xxx could be 0~255) in our example
Step4: Note down the IP address and port number of the camera you want to access, such as "192.168.30.1" and "88" in our
example.
Step5: Open Internet Explorer on the PC, and enter the IP address and port number in the URL column to access the
camera. The format is http://ipaddress:portnum, such as http://192.168.30.1:88 in our example.
Inserting MicroSD Card
The data originally saved in the microSD card (if any) will be removed
after inserting it to the camera.
The camera doesn't support hot-swapping. Please insert or remove
the microSD card with power disconnected.
Please follow the directions in the below graphic to insert MicroSD card
properly:
