EarthWay 2600A-Plus Instrukcja montażu - Strona 4
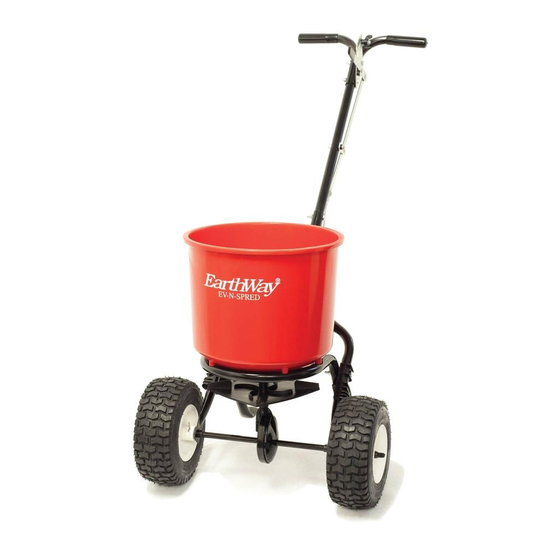
Przeglądaj online lub pobierz pdf Instrukcja montażu dla Rozrzutnik EarthWay 2600A-Plus. EarthWay 2600A-Plus 6 stron. 40 lb broadcast spreader
Również dla EarthWay 2600A-Plus: Instrukcja montażu (6 strony)
Assembly and Operation Instructions
Attach the linkage pivot with ¼"-20 x 1 ½" bolt, MD flat washer, black spacer, and lock nut (shown above).
Step 10:
Turn the end of the control rod into the keyed shut-off plate under the hopper.
Step 11:
Install the ½" carriage bolt through the control rod and install the SM flat washer and hex nut on the
Step 12:
carriage bolt. Allow a loose fit for CALIBRATION instructions below.
CALIBRATION
Pull the Control Lever back to #30 on the Gauge,
then push the shut-off plate forward until the
shut-off and the drop holes are fully open. Now
tighten the Hex Nut on the ½" carriage bolt on
the linkage assembly. Check to confirm
calibration by closing the control lever, then
reopening to #30 and confirm that the drop holes
are fully open.
Insert agitator to pinion shaft on
Step 13:
inside of hopper.
Note: The position of flat side of the agitator.
This pin should be installed as shown.
2600A-PLUS_M52215_July2021
PAGE
PAGE 4