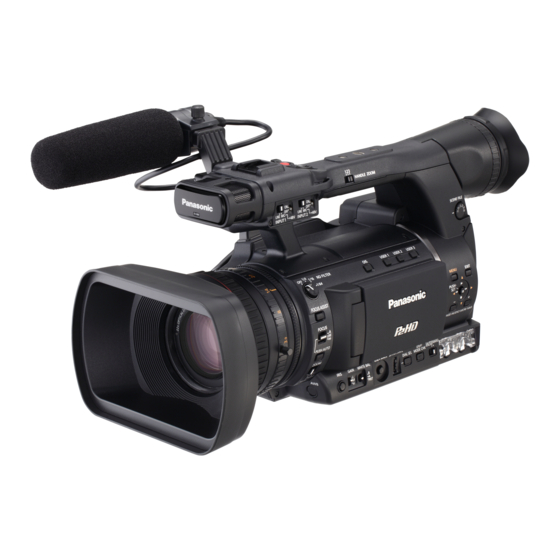
Panasonic AG-HPX250EJ Instrukcja obsługi - Strona 14
Przeglądaj online lub pobierz pdf Instrukcja obsługi dla Kamera Panasonic AG-HPX250EJ. Panasonic AG-HPX250EJ 36 stron. Memory card camera recorder
Również dla Panasonic AG-HPX250EJ: Regulacja elektryczna (20 strony)

Precaution for use
Always take some trial shots before actual shooting.
• When shooting important events (such as weddings), always take some trial shots and check that the
sound and images have been recorded properly before actual shooting.
Be sure to check and set the calendar and time zone.
• These settings affect the control and playback sequence of the recorded contents. Before making a
recording, set and check the calendar and time zone. (Page E-25)
Panasonic makes no guarantees for your recordings.
• Please understand that Panasonic cannot provide compensation for images and/or sound not recorded
because of problems with the camera-recorder or P2 card.
Respect copyrights
• Video and audio you have recorded with this camera-recorder is for your own personal enjoyment. In
accordance with the copyright laws, it may not be used for other purposes without permission from the
copyright holder.
Caution regarding laser beams
• The MOS sensor may suffer damage if the lens is subjected to light from a laser beam.
When using the camera-recorder in locations where laser irradiation equipment is used, be careful not to
allow the laser beam to shine directly on the lens.
Notes when connecting a 1394 cable
• Before connecting, turn off the main unit power, and check the shape and orientation of the terminal.
(Page 103 of Vol. 2)
Media that can be used in this unit
The following media can be used in this unit. For details, refer to the respective pages.
• P2 card (Page 14 of Vol. 2, Page 158 of Vol. 2)
• SD/SDHC memory cards (Page 16 of Vol. 2, Page 159 of Vol. 2)
Mounting the camera-recorder on a tripod
• There are tripod mounting holes that are compatible with 1/4-20UNC and 3/8-16UNC screws. Use the
size that matches the diameter of the tripod's fixing screw.
• The tripod mounting hole is 5.5 mm deep. Do not force the tripod screw beyond this depth.
For other usage notes, see (Page E-11).
E-13
Attach the tripod to the tripod hole on the bottom.
