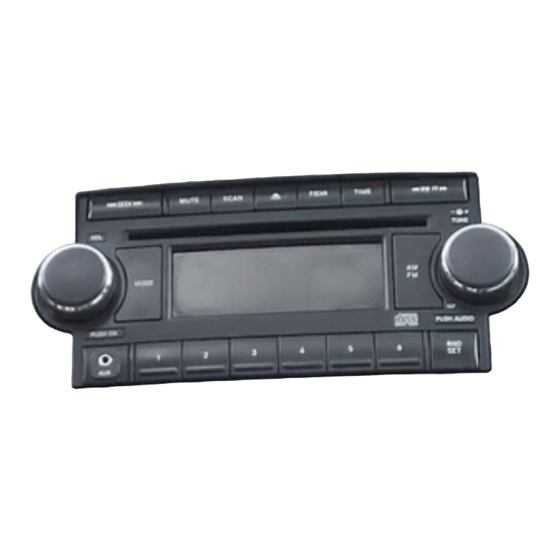
Chrysler AUX-CH3 Instrukcja instalacji - Strona 2
Przeglądaj online lub pobierz pdf Instrukcja instalacji dla Odbiornik samochodowy Chrysler AUX-CH3. Chrysler AUX-CH3 4 stron. Auxiliary input jack, with external changer or sirius

Introduction:
Many Chrysler owners with Sirius Radio and/or External CD
Changers will be pleased to know that it is no longer necessary to
disconnect these options in order to connect an auxiliary device.
Connecting an Auxiliary adapter to most cars requires disconnecting
the Satellite Radio or
external CD Changer**
external CD Changer**
external CD Changer**
external CD Changer**
AUX- - - - CH
AUX
CH3 3 3 3 requires and
requires and retains the option
retains the option and provides a 3.5mm
AUX
AUX
CH
CH
requires and
requires and
retains the option
retains the option
Audio jack which can be used to connect and play all kinds of audio
devices including Smartphones, MP3 Players, iPods etc. For more
details, see Frequently Asked question
Frequently Asked question
Frequently Asked question
Frequently Asked question at the end of this guide.
Installation:
Installation:
Installation:
Installation:
Remove Chrysler Radio from dashboard to gain access to the
connector. (Vehicle specific radio removal instructions are not
part of this guide, but may be available upon request)
1.
Once radio has been removed, disconnect the factory 10-
way plug (See Fig. 1
Fig. 1) from the Radio (See Fig.
Fig. 1
Fig. 1
Fig. 1
Fig. 1
Fig. 1
Fig. 1
10-way Plug
All manuals and user guides at all-guides.com
option
option ; however the
option
option
Fig. 2 2 2 2 )
Fig.
Fig.
Fig. 2
Fig. 2
Fig. 2
Fig. 2
Chrysler Radio connectors
2.
Connect the factory 10-way plug removed in step 1 to the 10-
way connector on the adapter harness (See Fig.
Fig.
Fig.
Fig. 3 3 3 3
Fig.
Adapter harness 10-way connector
3.
Connect the 10-way plug (See. Fig. 1
the adapter harness to the 10-way connector on the Radio
4.
Carefully route the audio jack (See Fig. 4
the dash or nearby panel where it will be mounted (within
3.5 ft.) The location will vary based on vehicle and
customer's preference.
Fig. 4
Fig. 4
Fig. 4
Fig. 4
Audio Jack
See Fig. 3 3 3 3 ) ) ) )
See Fig.
See Fig.
. Fig. 1) on the other end of
. Fig. 1
. Fig. 1
Fig. 4) to a location on
Fig. 4
Fig. 4
