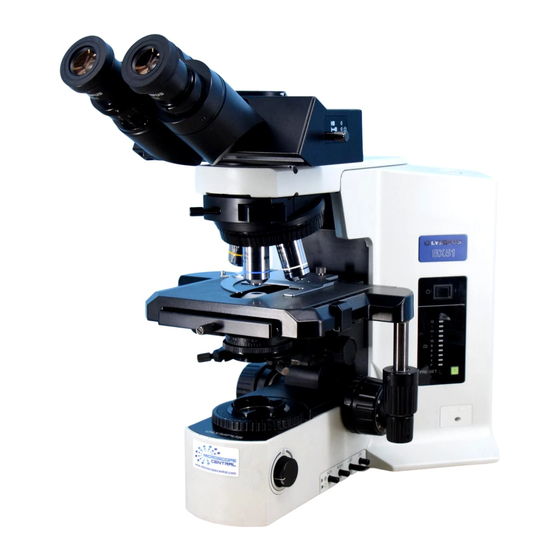
Olympus BX51 Instrukcja obsługi - Strona 10
Przeglądaj online lub pobierz pdf Instrukcja obsługi dla Mikroskop Olympus BX51. Olympus BX51 17 stron. System
Również dla Olympus BX51: Instrukcja obsługi (40 strony), Instrukcja obsługi (34 strony), Instrukcja obsługi (37 strony), Instrukcja obsługi (11 strony)

21. Examine specimen and document image if necessary:
-
-
-
22. When finished:
-
-
-
-
-
-
-
-
-
-
-
The prism control knob of the DIC slider.
Rotate the prism control knob of the DIC slider to obtain the background interference color that
can achieve maximum contrast according to the specimen under observation.
If the background color is black, darkfield-like observation can be performed.
If the background color is gray, a 3D-like image with maximum contrast with gray sensitive
gray can be obtained.
If the background color is sensitive magenta, even a minor optical retardation is observed as
a color change.
NOTE: Care should be taken to keep the specimen surface clean, as even a small amount of
contamination on the surface may show up due to the sensitivity of the DIC method.
This Manual: http://www.manuallib.com/file/2605418
If using 35mm film, use checklist for 'Olympus 35mm Camera'.
To obtain still digitized images, use checklist for 'Polaroid Digital Microscope
Camera (DMC).
To obtain still digitized images and digitized movies, use checklist for 'Sony, color
Video camera'.
Lower the stage by turning the focus knob (10) towards you and remove the slide
with your specimen from the stage (7).
Turn the nosepiece (12) back until the 10x objective is into place.
If the100x objective was used, clean the lens carefully with lens paper ONLY (do
not use Kimwhipes).
Rotate the condenser turret (23) until the BF (brightfield) mark is visible.
Loosen the clamping knob from the DIC prism slider and disengage the transmitted
light DIC prism slider (26) from the light path.
Pull the polarizer (25) out of the light path.
Pull the reflected light analyser (U-AN) (24) out of the light path.
Turn the light intensity down using the brightness adjustment knob (3).
Turn off the halogen light switch (1) to "0" (OFF).
Cover the microscope.
Leave the room CLEAN and TIDY!
8
