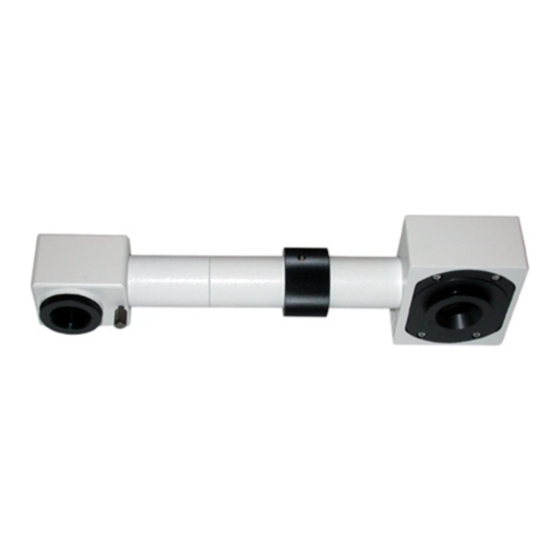
Olympus U-DA Instrukcja obsługi - Strona 9
Przeglądaj online lub pobierz pdf Instrukcja obsługi dla Mikroskop Olympus U-DA. Olympus U-DA 12 stron. Drawing attachment

²
@
Fig. 5
|
²
Fig. 6
ƒ
²
@
Fig. 7
Adjusting the Brightness Balance of
7
Drawn Image and Specimen Image
1. While looking through the eyepiece, place a pencil, etc. on the drawing
paper surface.
2. Using the microscope's brightness adjustment knob @, adjust the bright-
ness until the tip of the pencil and the specimen can be seen clearly at the
same time.
}If the drawing paper surface is dark, drawing will be made easier by illumi-
nating the paper with an electric lamp.
}If the microscope's light preset button ² is set to the optimum brightness
position for drawing and if, when the light preset button is OFF, the bright-
ness is set to the darkest position, it will be possible to switch between the
image of the superimposed specimen and drawing and the drawing
image alone just by pressing the button.
Options
Using the 10X Drawing Lens (U-DAL10X)
}When the optional 10X drawing lens is used in place of the standard
drawing lens, the drawing field diameter can be expanded to 220 mm,
which means that the image can be projected to almost fill an A4-size
page.
How to Attach
³
1. When only the U-DA is mounted on the microscope frame (Fig. 6)
1. Loosen the mirror housing clamping knob @ and detach the mirror hous-
ing.
2. Remove the standard drawing lens which is screwed into the adapter
tube ², and attach the 10X drawing lens ³ and the ring | provided with
the 10X drawing lens in place.
@
2. When the U-DA is mounted above another intermediate tube (Fig. 7)
1. Loosen the mirror housing clamping knob @ and detach the mirror hous-
...
ing.
2. Remove the adapter tube ² by screwing. The standard drawing lens
attached to the adapter tube will not be used in the present procedure.
3. Attach the mirror housing directly to the relay tube ƒ.
4. Screw in the lens adapter frame ..., provided with the U-DA, into the threaded
hole at the mirror housing bottom.
³
5. Screw in the 10X drawing lens ³.
How to Use
The same operation as with the standard drawing lens is possible.
U-DA
(Fig. 5)
4
