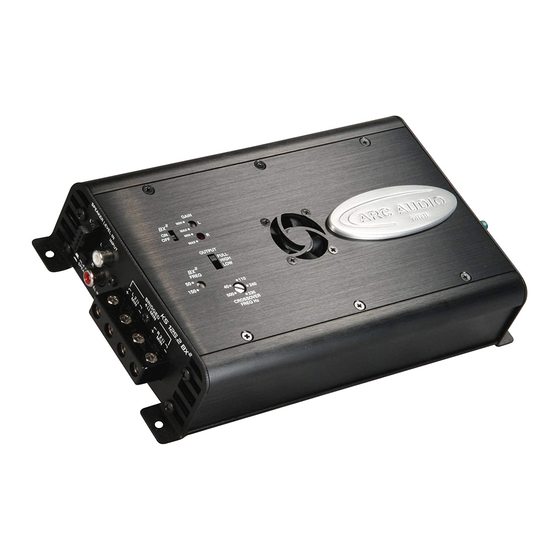
ARC Audio KS125.2 MINI Instrukcja instalacji - Strona 4
Przeglądaj online lub pobierz pdf Instrukcja instalacji dla Wzmacniacz ARC Audio KS125.2 MINI. ARC Audio KS125.2 MINI 17 stron. Moto series

........ Continued
C. After you have removed the lights and all of the
fastners in order to remove the fairing position your-
self in front of the bike and carefully lift upward in
the front of the fairing housing. Please note this
will take some force as there are slots in inside the
fairing that are supported by frame hooks (See Figure
4D and 4E) lift upward and the pull foward to remove
the fairing. (See Figure 4F) Then uplug the headlight
and any additional auxiliary wiring attached to the
front fairing. Then Set the fairing aside in a safe
place.
Step 5- Mounting and wiring the amplifier
A.
Position the amplifier on the left side of the
fairing pushed back and up between the left side
pocket and the inner fairing wall. (See Figure 5A)
B. First turn your handle bars to the full left(to
prevent damage to them during the next step) Using
your drill and a 7/32 drill bit while holding the
amplifier firmly in position, pre-drill the (3) mount-
ing hardware holes (See figure 5B) - Pre-drill your
holes using the 3 exposed amplifier mounting tabs (2
on the bottom and 1 in the front top)
C.Prewire your amplifier by screwing the speaker
leads into the amplifier. Please make note of which
lead is left and which is right.
D. Plug in the Amplifiers 5 pin Hi Level Speaker
input plug (Provided with Amplifier) and extend the
leads as necessary to reach the motorcycles factory
speaker wires from the radio. Also this would be a
good time to preset all of the switches and controls
on the amplifier. (See Figure 5D) (See page 15 for
tuning and adjustment instructions)
E. Now mount the amplifier to the prepared space on
the left side inner ferring using the provided hard-
ware and mount securely.
(See Figure 5E)
Figure 4D
Figure 4E
Figure 4F
Figure 5A
Figure 5B
Figure 5D
Figure 5E
