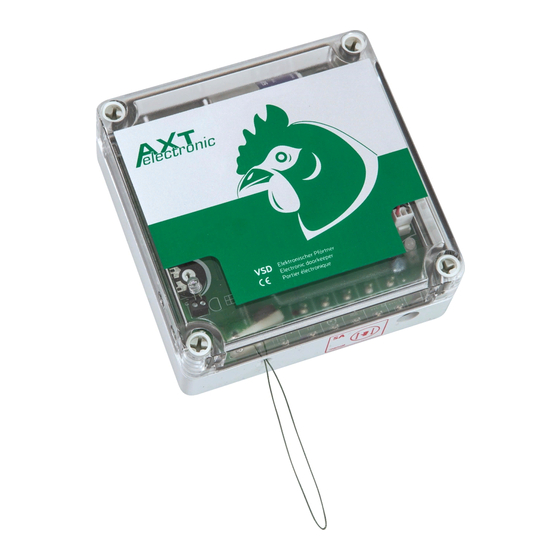
AXT ELECTRONIC VSD Instrukcja obsługi - Strona 4
Przeglądaj online lub pobierz pdf Instrukcja obsługi dla Sprzęt rolniczy AXT ELECTRONIC VSD. AXT ELECTRONIC VSD 6 stron. Electronic doorkeeper

Our suggestion for you!
Most chickens go into the coop at dusk. It also
makes sense to only let them out in the morning
when the fox and marten are usually no longer
hunting. Therefore we have the following stan-
dard setting at delivery in our timers.
In the morning: open from 8 o'clock, if it is light.
In the evening: close at dusk or 22 o'clock at
the latest.
(Prerequisite for this program sequence is the
operation of the Doorkeeper with twilight sensor.
For this mode of operation no cable bridge must be
connected to contacts 5 and 6 in the Doorkeeper).
Depending on the accessories installed, the VSD Door-
keeper can be used in three different operating modes.
Pure twilight control
No timer is present or connected. The device therefore
only reacts to light changes via the internal or external
twilight sensor (+ manual operation if necessary).
Combined control
A timer is connected in addition to the twilight cont-
rol. There are switching times in the timer. The device
Notice:
The LED signal for the error or ope-
rating mode is only output at short
intervals for approx. 2 hours after
activation. The LED does not flash the
whole night!
ACCESSORIES
Control together with timers BS-D or ZS-D
Segment key: Press briefly = move cursor / press long = mark a range of segments together
Confirm key: Confirm /save segment - change status of selected segment
Programming button: Activate the setting mode to change actual time and closing time
Minute key: Setting the minutes
Hour key: Setting the hours
Delete key: Deletes the programmed closing time
Mode keys: Mode change (not necessary with BS-D and ZS-D)
Programming / Editing
1. Press the programming button until „P" appears on the display.
2. Set the current time with the hour and minute keys
3. Standard closing time (see figure above) from 22 o'clock to 8 o'clock. This closing time
is factory-programmed as a suggestion in the delivery state. If no change is required,
complete the procedure by pressing the programming button.
4. Setting your own closing time: Press the delete key to completely delete the current
closing time.
5. Position the cursor at the desired start position of the closing time by briefly pressing
the segment key several times. Then keep the segment key pressed - the segments of
the desired closing time are now highlighted in dark. When the desired opening time is
reached, release the segment key and complete the programming with the confirma-
tion key.
6. By pressing the segment key one after the other, only one segment is marked ( blinking)
by the blinking cursor. By pressing the confirmation key, only the state of this one
segment is changed.
7. Press the programming key to complete the procedure.
Note: Please make sure that the timer is in the correct mode. No „S" must be displayed below
the minute display (S mode is intended for operation of the timer with an automatic feeder).
If this is the case by mistake, press the programming button to enter the programming mode.
Now press both mode buttons together for at least 5 seconds. The mode is switched over. No
„S" may appear in the display for the use of the timer with the Doorkeeper.
also reacts to the switching times in the timer. This is
done in combination with the lighting conditions. In
the morning it opens when „light AND opening time
reached", in the evening it closes when „dark OR closing
time reached".
Pure time control
The twilight sensor is deactivated or ignored. It is either
short-circuited (cable bridge on 5+6) or ignored by the
software. It only reacts to the switching times of the ti-
mer or manual operation (SA). For automatic operation,
LED-indicators
Device in closed mode (1x green)
Is indicated when the Doorkeeper has received the impulse to close and the internal limit
switches confirm that no more weight is pulling on the device. The door should therefore
also be closed. Please check the door regularly for smooth running to prevent it from
getting stuck when closing.
Battery life reached (2x red)
You should replace the batteries to ensure safe operation. For optimum battery life, use
only alkaline batteries.
Error limit switch (3x red)
Error at limit switch for open mode. Possibly the cord was wound incorrectly or the maxi-
mum stroke of 70cm is not sufficient. This error is also indicated when the limit switch for
the open mode is raised during the closing movement!
Error overload (1x red)
Slider blocked during opening. Check the smooth opening and closing with the manual
control.
an opening and a closing time or a closing period (from-
to for BS, BS-D, ZS-D) must be specified. If the light sen-
sor is deactivated (cable bridge on pins 5+6 is plugged
in) AND no timer is connected or has no set switching
times inside a connected timer, an automatic operation
is not possible! It can then only be controlled by manual
operation.
