Archer SR9 Instalacja, obsługa i konserwacja - Strona 3
Przeglądaj online lub pobierz pdf Instalacja, obsługa i konserwacja dla Kontroler Archer SR9. Archer SR9 6 stron. Automatic switchover

Operating the Model SR9:
1) Prior to placing the SR9 vacuum regulator into operation, it is important to carefully
test the lead gasket seal. A small squeeze bottle
Instruments vacuum regulator) should be partially filled with ammonia. Squeezing the
bottle allows the ammonia fumes to be used to test for chlorine leaks. A leak is detected
by a visible light gray / white gas cloud when the two fumes interact. To test for leaks,
open the cylinder valve ¼ turn and then close immediately. This pressurizes the lead
gasket seal but ensures the full cylinder of chlorine is isolated during leak testing. Use
ammonia fumes around the cylinder valve and lead gasket to check for any signs of
leaking gas. If a leak is found, this must be addressed before placing the unit into
operation.
2) After confirming no leaks exist, open the chlorine cylinder valve 1/3 of a turn. This is
fully open and there is no need to open the valve further.
3) If the Model SR9 being placed into operation is meant to be the on-line unit (cylinder
being used first), no further action is needed.
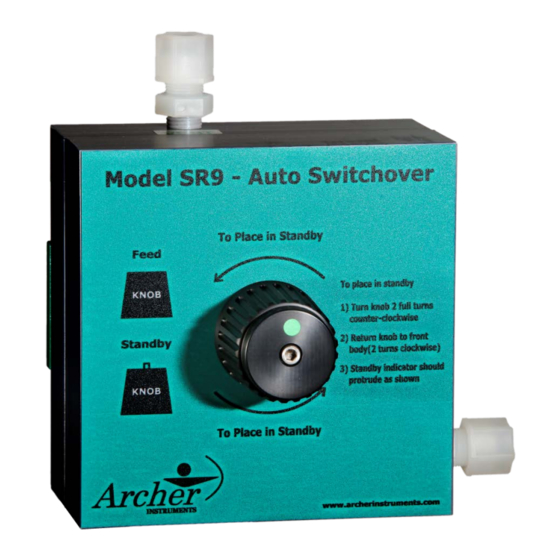
4) If the SR9 being placed into operation is meant to be the standby unit, turn the reset
knob 2 to 2-1/4 turns counter clockwise to engage the automatic switchover detent.
Then immediately turn the knob clockwise until it rests flush against the body of the SR9
regulator.
5) The indicator screw should protrude as shown on the label, indicating the unit is in
standby. The regulator will now not allow gas to be fed until the on-line gas source is
depleted, at which time it will automatically switch into operation.
Maintaining the SR9:
Recommended Maintenance Frequency: Archer Instruments recommends yearly routine
maintenance of the SR9 vacuum regulator.
-Refer to the following parts diagram when performing maintenance on the SR9.
*IMPORTANT NOTE:
The VRA-511 reset screw and the VRA-546 reset pin have LEFT HANDED THREADS.
The VRA-546 reset pin also has left-handed threads where it is connected to the VRA-
547 diaphragm back plate.
1) To disassemble the SR9, first make sure the unit is in the feed position (not in
standby).
2) Next unscrew the VRA-511 reset screw (clockwise to unscrew). Then remove the
VRA-541 reset knob.
3) Remove the two BTA-125 yoke screws and pull the yoke & inlet assembly out of
the back of the vacuum regulator.
Archer Instruments, LLC
provided with every Archer
(
www.archerinstruments.com
