Cisco Business 250 Series Skrócona instrukcja obsługi - Strona 3

Przeglądaj online lub pobierz pdf Skrócona instrukcja obsługi dla Przełącznik Cisco Business 250 Series. Cisco Business 250 Series 17 stron. Smart switches
Również dla Cisco Business 250 Series: Skrócona instrukcja obsługi (2 strony), Skrócona instrukcja obsługi (5 strony), Poznaj (10 strony), Poznaj (16 strony), Skrócona instrukcja obsługi (5 strony), Skrócona instrukcja obsługi (49 strony)
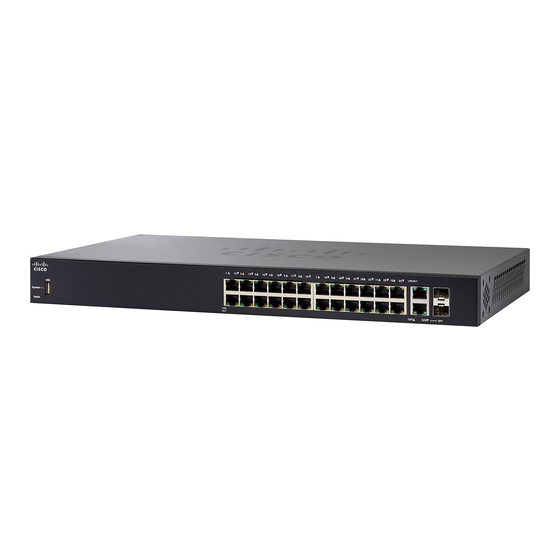
Cisco Business 250 Series Skrócona instrukcja obsługi
• Computer with Internet Explorer (version 9.0, 10.0, 11.0), or Firefox
(version 36.0, 37.0, or higher), or Chrome (version 40,41,42 or higher) for
using the web-based interface.
Mounting the Cisco 250 Series Smart
2
Switches
There are three ways to install the switch:
• Place the switch on a flat surface. To place the switch on a desktop,
install the four rubber feet (included) on the bottom of the switch.
• Mount the switch in a standard rack (1 rack unit high).
• Mount on a wall.

Placement Tips

Do not mount the device in a location where any of the following conditions
exist:
• High Ambient Temperature—To prevent the switch from overheating,
do not operate it in an area that exceeds an ambient temperature of
122°F (50°C).
• Air Flow—Both side panels must be unobstructed to prevent
overheating.
• Overloading—The device must be level, stable, and secure to prevent
it from sliding or shifting out-of-position.
• Circuit Overloading—Adding the device to the power outlet must not
overload that circuit.

Rack Mounting

You can mount the switches in any standard size, 19-inch (about 48 cm)
wide rack. The switch requires 1 rack unit (RU) of space, which is 1.75
inches (44.45 mm) high.
For stability, load the rack from the bottom to the top, with the
C
AUTION
heaviest devices on the bottom. A top-heavy rack is likely to
be unstable and might tip over.
Cisco 250 Series Smart Switches
3