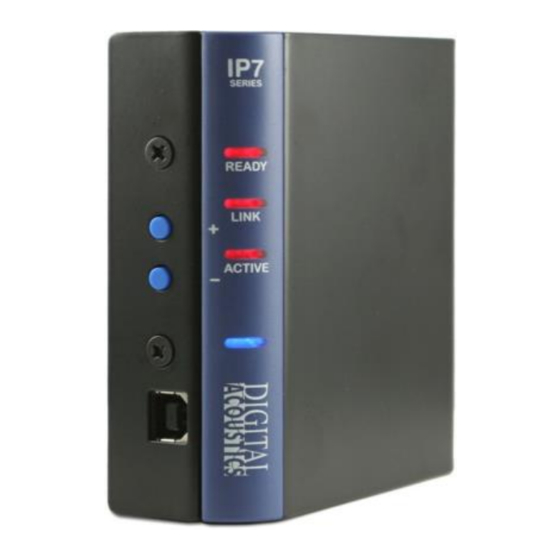
Digital Acoustics IP7-SS40 Podręcznik referencyjny - Strona 13
Przeglądaj online lub pobierz pdf Podręcznik referencyjny dla Wzmacniacz Digital Acoustics IP7-SS40. Digital Acoustics IP7-SS40 20 stron. Audio transformer
Również dla Digital Acoustics IP7-SS40: Instrukcje instalacji (2 strony)

Connecting Line Out
The Line Out connector is designed to drive a 600 Ohm unbalanced
load at -10db. This is capable of driving a powered multimedia
speaker
Connect J2-3 to the + side of the output source
Connect J2-4 to the - side of the output source
Cable length should not exceed 6ft (2 meters)
Use 22 AWG shielded/stranded cable
Connecting an I2C Bus
The IP7-SS40 can support an optional I2C bus via the RJ-10 connecter.
Buttons, relays and LEDs can be added to the I2C bus, BUT REQUIRE
CUSTOM FIRMWARE AND SOFTWARE. Please contact Digital Acoustics
for additional information.
Mounting Instructions
The IP7-SS40 can be installed on a DIN Rail or surface mounted.
Din Rail Mounting
To DIN rail mount:
Cut a piece of 35mm DIN rail (not supplied) to the desired length
and secure it to the wall
Place the IP7-SS40 onto the DIN rail by tilting the top of the unit
(J1, J2, J3 connectors facing up with Volume buttons and USB-B
connector facing forward) back towards the DIN Rail until the
IP7-SS40s DIN clip catches the top of the rail
Press in at the bottom of the IP7-SS40 to snap it in place
Surface Mounting
To surface mount:
Attach the detachable surface mount plate
to the back of the unit using the provided
screws. The two mounting holes of the
surface mount plate should be above the J1,
J2, and J3 connectors
Attach two (2) #8 pan head screws 2 inches
(52 mm) apart and screw in to within ¼"
Place the mounting holes of the IP7-SS40 over the #8 screws
10
