Crestron 4 Series Skrócona instrukcja obsługi

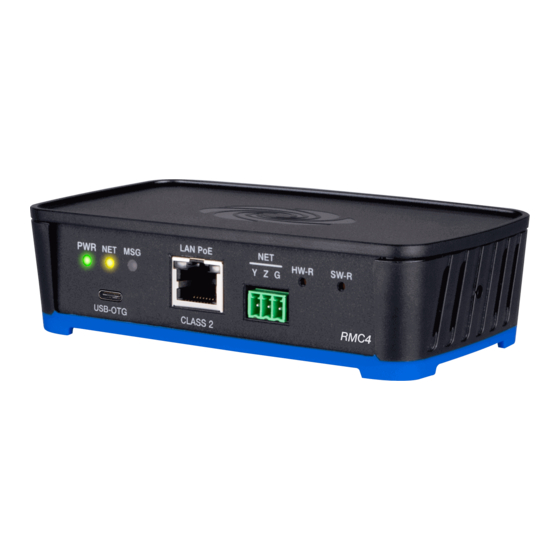
Przeglądaj online lub pobierz pdf Skrócona instrukcja obsługi dla Kontroler Crestron 4 Series. Crestron 4 Series 6 stron. Control processor for zūm lighting control system
Również dla Crestron 4 Series: Skrócona instrukcja obsługi (8 strony), Skrócona instrukcja obsługi (8 strony), Skrócona instrukcja obsługi (6 strony), Szybki start (5 strony), Skrócona instrukcja obsługi (6 strony), Skrócona instrukcja obsługi (2 strony), Skrócona instrukcja obsługi (2 strony), Pierwsze kroki (2 strony), Skrócona instrukcja obsługi (2 strony), Skrócona instrukcja obsługi (12 strony)

Crestron 4 Series Skrócona instrukcja obsługi
RMC4
4-Series™ Control System
The Crestron®
RMC4
provides a secure, high performance, cost-effective
4-Series™ control processor and interface for controlling and monitoring
a single display device, a small AV system, lighting and shading, climate
control, security, energy management, and many other specialized
applications. A small form factor allows the RMC4 to be placed just about
anywhere, with the option to attach it to a flat surface or DIN rail using
the included mounting bracket.
In the Box
1
RMC4, 4-Series Control System
Additional Items
1
Bracket, Mounting, Integrated DIN Rail Clip (4519035)
2
Screw, 6-32 x 3/8 in., Phillips (2007225)
2
Connector, 3-Pin (2003575)
2
Connector, 4-Pin (2003576)
1
Connector, 5-Pin (2003577)
Mount the Control System
The RMC4 can be mounted onto a flat surface or a standard DIN rail
using the included mounting bracket.
CAUTION: To prevent overheating, do not operate the RMC4 in an area
that exceeds the environmental temperature range (32 to 104 °F or
0 to 40 °C) for this device.
Optional rack mount and pole mount kits (not included) are also available
for use with the RMC4. For more information, refer to the
Installation Guide (Doc. 7627)
and the
(Doc.
7615).
Surface Mounting
1. Detach the RMC4 from the mounting bracket by pulling the left and
right flanges of the bracket outward to release the tabs that hold the
RMC4 in place.
2. Attach the mounting bracket to the surface by using four appropriate
mounting screws (not included) through the four mounting holes on
the bottom of the bracket.
3. Align the slots on the bottom of the RMC4 with the tabs on the
mounting bracket.
4. Press the RMC4 into the bracket until it snaps into place.
Quick Start
RMK-IFE-1U
PLMK-IFE-101 Installation Guide 
1