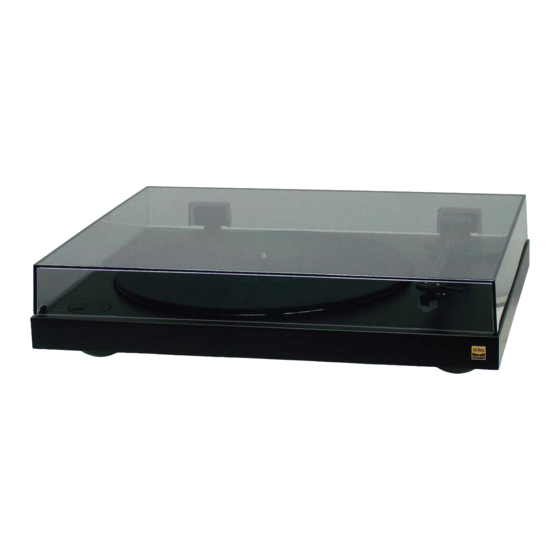
Sony PS-HX500 Instrukcja serwisowa - Strona 4
Przeglądaj online lub pobierz pdf Instrukcja serwisowa dla System stereo Sony PS-HX500. Sony PS-HX500 26 stron. Stereo turntable system
Również dla Sony PS-HX500: Instrukcja obsługi (28 strony)

PS-HX500
ASSEMBLING THE TURNTABLE
Note
Do not connect your turntable to a power outlet
with the AC adaptor until you are finished with
assembly.
Precautions on placement
Place the unit on a level surface.
Avoid placing the unit near electrical
appliances (such as a television, hair
dryer, or fluorescent lamp) which may
cause hum or noise.
Place the unit where it will not be subject
to any vibration, such as from speakers,
slamming of doors, etc.
Keep the unit away from direct sunlight,
extremes of temperature, and excessive
dust and moisture.
Keep the unit away from electronic
devices that may emit radio waves or
electromagnetic noise.
Attaching the platter
1
Place the platter on the spindle.
Keep the platter level while placing it on
the spindle.
Platter
Spindle
Motor
pulley
Note
Hold the platter firmly so as not to drop the
platter as it may cause personal injuries or
damage to your turntable.
2
Turn the platter to the position
where you can see the motor pulley
through the rectangular hole with
the tips of the red ribbon taped on
the platter.
Red ribbon
Motor pulley
4
3
Peel off the adhesive tape, pull and
hold the red ribbon, and then hook
the drive belt around the motor
pulley.
Note
Do not twist the drive belt.
Be sure to remove it once you have hooked
the drive belt around the motor pulley.
4
Place the rubber mat onto the
platter.
Note
Make sure that the chamfered side of the
rubber mat faces upward.
The back side of the rubber is indicated by the
SONY imprint.
REPLACING THE STYLUS
The stylus may become worn out, damaged,
or dirty beyond cleaning depending on
your use case. In such a case, replace the
stylus.
Note
Be sure to attach the stylus protective cover
before you replace the stylus so as not to harm
your fingertips or damage the stylus.
To remove the stylus
1
Turn off your turntable and the
connected audio device and unplug
the AC adaptor from the power
outlet.
2
Attach the stylus protective cover to
the stylus.
3
Hold the cartridge body (
) with
one hand, grasp the stylus with the
other, and then pull the stylus in the
direction of the arrow to remove it
from the cartridge body.
To attach the stylus
1
Attach the stylus protective cover to
the spare stylus.
2
Hold the cartridge body (
) with
one hand and then insert the tab on
the spare stylus into the receptacle
on the cartridge body.
3
Push the stylus in the direction of
the arrow until it clicks into place.
