Epson Perfection 1670 Photo Instrukcja obsługi - Strona 6

Przeglądaj online lub pobierz pdf Instrukcja obsługi dla Skaner Epson Perfection 1670 Photo. Epson Perfection 1670 Photo 9 stron. Color image scanner
Również dla Epson Perfection 1670 Photo: Informacje o produkcie (7 strony), Podręcznik (11 strony), Aktualizacja (1 strony), Biuletyn wsparcia produktu (17 strony), Biuletyn wsparcia produktu (12 strony), Ważne instrukcje bezpieczeństwa (4 strony), Broszura i specyfikacje (2 strony), Instrukcja serwisowa (46 strony)
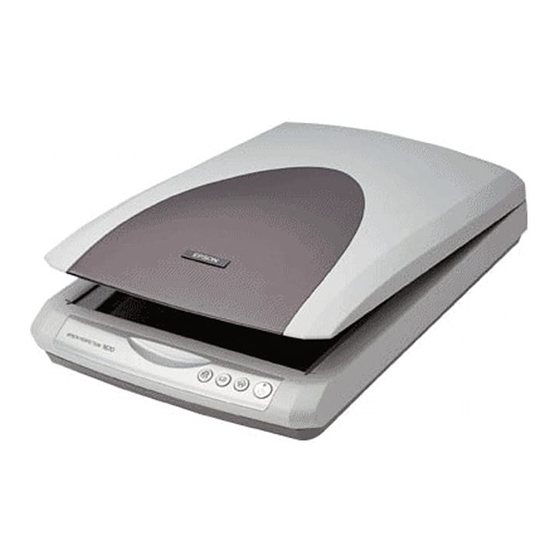
Epson Perfection 1670 Photo Instrukcja obsługi

Placing Film on the Scanner

The Perfection 1670 Photo scanner cover has a built-in transparency unit (TPU).
To scan negative film or slides, you'll need to remove the reflective document mat
from the cover and place the film in a holder on the scanner glass.
1
Make sure the transparency unit cable is connected
to the back of the scanner (see step 4 in
"Connect the Scanner").
2
Lift the scanner cover all the way up and
slide the reflective document mat up
and off of the scanner cover.
3
Slide the negative strip into the film holder, with the film's shiny base side
facing down.
4
Place the film holder in the correct position for your film type. If you are
scanning slides, place the holder on the scanner first, then place the slides
in the holder.
Be sure to match the letter on the film holder tab with the corresponding
letter on the scanner.
A
B Negatives (the last 3 frames
of the negative strip). Rotate
the film holder and place it
against the right edge of the
scanner.
C
Note: Make sure the narrow calibration window at the top of the film holder
is clean and uncovered to ensure an accurate scan.
5
Close the scanner cover.
A Negatives (the first 3 frames
of the negative strip).
C Slides. Place the holder
on the scanner glass, then
put the slides in the holder.
B