Epson 7800 - Stylus Pro Color Inkjet Printer Instrukcja rozpakowywania i konfiguracji - Strona 20

Przeglądaj online lub pobierz pdf Instrukcja rozpakowywania i konfiguracji dla Oprogramowanie Epson 7800 - Stylus Pro Color Inkjet Printer. Epson 7800 - Stylus Pro Color Inkjet Printer 27 stron. Stylus pro 800 series
Również dla Epson 7800 - Stylus Pro Color Inkjet Printer: Broszura i specyfikacje (8 strony), Specyfikacje (4 strony), Podręcznik dla początkujących (10 strony), Podręcznik użytkownika (11 strony), Skrócona instrukcja obsługi (12 strony), Podręcznik uzupełniający (1 strony), Ograniczona gwarancja (12 strony), Broszura i specyfikacje (8 strony), Biuletyn wsparcia produktu (10 strony), Broszura i specyfikacje (16 strony), Arkusz informacyjny (4 strony)
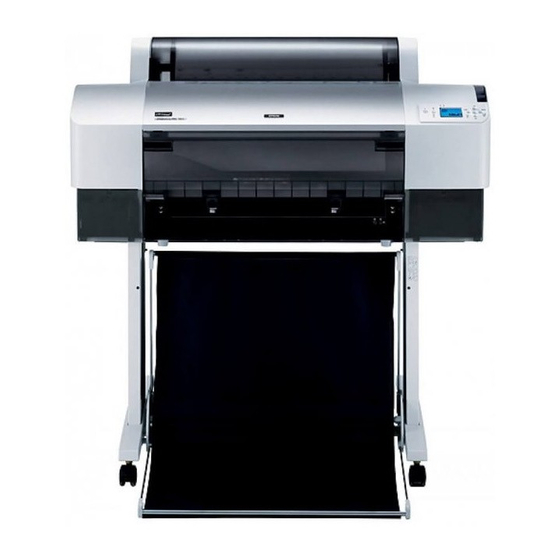
Epson 7800 - Stylus Pro Color Inkjet Printer Instrukcja rozpakowywania i konfiguracji
6. Make sure that the Power light is not flashing,
and then set the paper lever to the released
position. The LEVER RELEASED. LOAD PAPER
appears on the LCD panel.
c
Caution:
Do not set the paper lever to the released
position while the Power light is flashing.
Doing so may damage the printer.
7. Insert the paper into the paper insertion slot.
8. Pull the paper down through the paper
insertion slot so that it comes out below.
Note:
If the roll paper does not come out, follow the
instructions below.
20
❏ Adjust the feed strength by pressing the
Paper Feed buttons on the control panel.
When using thick, heavy, or curled paper,
press the Paper Feed u button to
increase the power. When using thin or
light paper, press the Paper Feed d
button to decrease the power.
❏ If the paper does not come out even after
executing the procedure above, open the
front cover and pull the paper out
manually.
9. Holding the bottom edge of the paper, turn the
roll paper to remove slack. Make sure that the
bottom edge of the paper is straight, and that
it is aligned with the horizontal line.
Note:
You do not have to align the right end of the paper
with the vertical line.
10. Set the paper lever to the secured position, and
close the roll paper cover. PRESS PAUSE
BUTTON appears.