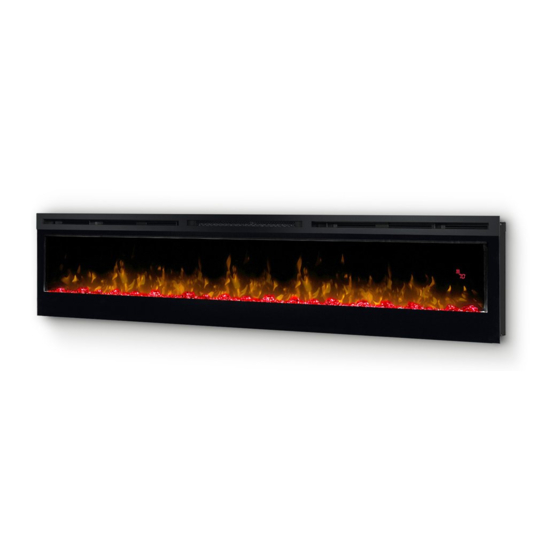
Dimplex BLF7451-AU Instrukcja obsługi - Strona 12
Przeglądaj online lub pobierz pdf Instrukcja obsługi dla Kominek wewnętrzny Dimplex BLF7451-AU. Dimplex BLF7451-AU 19 stron. Prism 1.2kw wall mounted electric fire
Również dla Dimplex BLF7451-AU: Instrukcja obsługi (19 strony)

Installation
Surface Mounting (34" & 74" Models)- see Fig. 3 & 4
CAUTION: Two people will be required for various steps of this procedure.
1. Determine the mounting location of the unit so that the wall-mounting bracket can
be installed into a minimum of 2 wall studs for the 34" Models and 4 wall studs for
the 74" Models
NOTE: It is recommended that the mounting bracket be installed 142cm off of the
ground to maintain an optimized viewing angle of the flame.
2. Hold the wall mounting bracket, with the spirit level on the top, on the wall so that
the bubble on the level is centered between the two black lines.
3. Mark the 4 mounting screw locations, on the wall, ensuring that the wall bracket
stays level (Fig. 3) marked (A).
4. In locations where the screws are being installed only into drywall, install the supplied
wall anchors before installing the screw (pre-drill if required).
5. Secure the wall bracket to the wall using the supplied 3.8 cm mounting screws and
washers into the wall and/or wall anchors.
6. Install the bottom support bracket to the wall centered with the wall mounting
bracket, using the appropriate mounting hardware, 350mm below the wall mounting
bracket (Fig. 3) marked (B).
7. Remove the center screw from the bottom of the fireplace. (Fig. 4)
8. Hang the fireplace from the bracket.
9. Install the previously removed screw through the bottom support bracket into the
fireplace.
10.
Refer to Front Glass Installation section for final installation procedures.
Surface Mounting (50" Models) - see Fig. 5 & 6
CAUTION: Two people may be required for various steps of this procedure.
1. Choose a location which has a minimum of two wall studs available for mounting.
2. Remove the partially reflective glass from the fireplace:
• Lay fireplace on its back.
• Remove two Phillips screws from each of the two glass brackets (Fig. 5) marked
(A).
• Remove glass brackets (Fig. 5) marked (B).
• With one hand keeping pressure on the partially reflective glass, tilt the fireplace
upright and slightly forward to allow the partially reflective glass to fall out of the
inside framing.
CAUTION: Partially reflective glass is not tempered. Do not bump or drop the partially
reflective glass to avoid breakage and personal injury.
• Remove partially reflective glass from fireplace.
12
