Epson Stylus Pro 4880 ColorBurst Edition - Stylus Pro 4880 ColorBurst Arkusz specyfikacji - Strona 4

Przeglądaj online lub pobierz pdf Arkusz specyfikacji dla Oprogramowanie Epson Stylus Pro 4880 ColorBurst Edition - Stylus Pro 4880 ColorBurst. Epson Stylus Pro 4880 ColorBurst Edition - Stylus Pro 4880 ColorBurst 6 stron. Warranty statement
Również dla Epson Stylus Pro 4880 ColorBurst Edition - Stylus Pro 4880 ColorBurst: Pierwsze kroki (13 strony), Broszura i specyfikacje (6 strony), Instrukcja konfiguracji (16 strony), Skrócona instrukcja obsługi (12 strony), Instrukcja obsługi dla sieci (46 strony), Instrukcja instalacji (4 strony), Podręcznik z informacjami o produkcie (16 strony), Ograniczona gwarancja (12 strony)
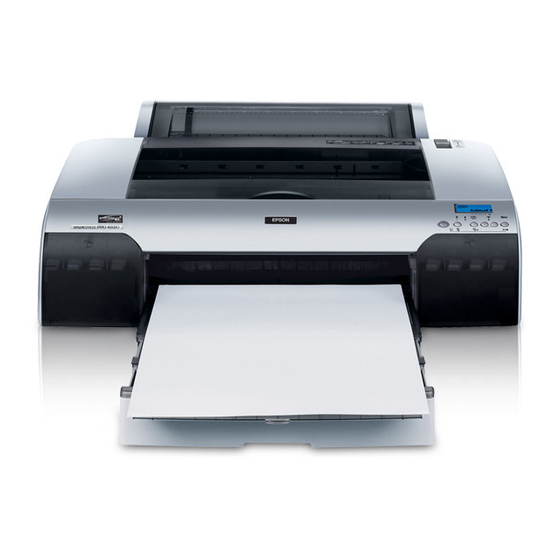
Epson Stylus Pro 4880 ColorBurst Edition - Stylus Pro 4880 ColorBurst Arkusz specyfikacji
Windows
1
Make sure your computer and printer are turned on but the printer is NOT CONNECTED
to your computer.
If you see a Found New Hardware Wizard screen, click Cancel and disconnect the
Note:
USB cable.
2
Insert the Epson Stylus Pro 4880 printer CD.
With Windows Vista, if you see the AutoPlay window, click Run Epsetup.exe. When you see
Note:
the User Account Control screen, click Continue.
3
Click Install.
If you see message asking if you want to install
Note:
or run various installation programs, select Continue,
Continue Anyway, or Install this driver software
anyway.
4
When you see a window asking you
to connect the printer, connect the
USB cable.
With Windows XP, if you see a
Note:
Found New Hardware Wizard screen
after you connect the printer, select No,
not this time and click Next. Then click
Next again.
If installation doesn't continue
Note:
after a moment, make sure you securely
connected and turned on the printer.
5
Follow the on-screen instructions
to install all the necessary software
and manuals, and place a link to the
Epson Professional Imaging Website on your desktop.
6
When you're done, click Exit and remove the CD.
Load Roll Paper
1
Slide the black paper stop off the end of the spindle.
2
If the paper has a 2-inch core, remove the adapters by pressing the four tabs.
Make sure your hands are clean, and avoid touching the printable
Note:
surface of the paper. Try to handle paper by the edges. Make sure you don't rub
or scratch the coating or dent the edges of the paper.
3
Position the roll so the paper unwinds as shown, then slide
it onto the spindle.
4
Slide the black paper stop back onto the spindle. Insert it firmly into
the end of the roll.
5
Open the roll paper cover.
6
Place the paper and spindle in the printer as shown,
with the black end on the left.
Roll paper cover
Tab
Paper source button