CRU DataPort DP27 Skrócona instrukcja obsługi - Strona 2
Przeglądaj online lub pobierz pdf Skrócona instrukcja obsługi dla Obudowa CRU DataPort DP27. CRU DataPort DP27 4 stron. Slimline enclosure

2
CRU DataPort DP27 Quick Start Guide
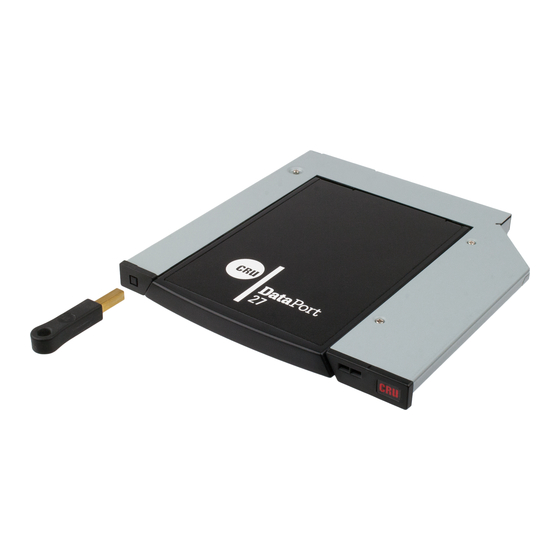
1 Slimline Frame inStallation
a. Install the DP27 into your computer's optical bay using the instructions provided by your com-
puter manufacturer.
The DP27 requires 5v DC power provided over a 6-pin slimline cable. You may
require a third party 6-pin slimline to 15-pin SATA power cable (sold separately) if
you are using the DP27 in an ATX case or server chassis.
2 Carrier eJeCtion
2.1 PuSh-Button VerSion
Slide the Eject button to the left and then press in to release the carrier from the frame (see
Figure 1).
2.2 KeyloCK VerSion
Firmly press the included key into the square keyhole on the left side of the frame to eject the
carrier (see Figure 2).
Figure 1.
keyhole to eject the carrier.
3 DriVe inStallation
a. On the rear of the carrier are two tabs holding the cover
of the carrier in place. Separate the tabs and pull the
cover apart from the carrier.
b. Insert a 2.5" 7mm SATA drive with the top label facing
up into the carrier by compressing the foam spring and
placing the drive into the carrier bottom (see Figure 3).
Ensure that the unified SATA and power data connector
is facing out of the rear of the carrier.
Insert the key into the
Figure 2.
Insert the key into the
keyhole to eject the carrier.
Figure 3.
carrier.
Figure 4.
cover to secure it.
Insert the drive into the
Press down on the
