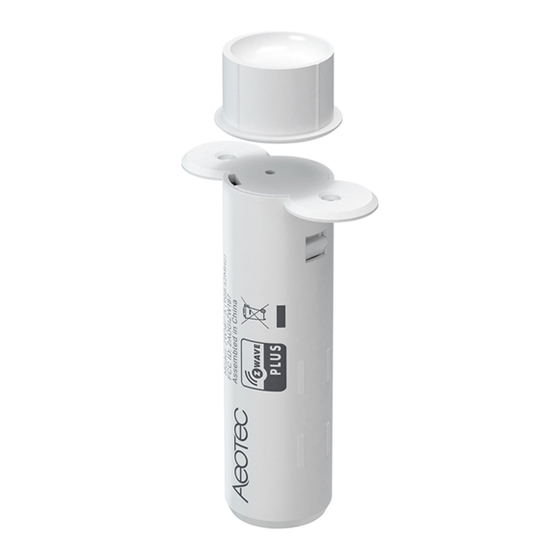
Aeotec Recessed Door Sensor 7 Podręcznik - Strona 10
Przeglądaj online lub pobierz pdf Podręcznik dla Akcesoria Aeotec Recessed Door Sensor 7. Aeotec Recessed Door Sensor 7 11 stron.

AEOTEC Engineering Specification
3. Remove the Pull Tab to engage the pre-installed battery. LED will become slow fade-in fade-out Red color for a few
seconds which will indicate that its power is on.
4. Add Recessed Door Sensor 7 to your Z-Wave network;
A. If your Z-Wave gateway supports SmartStart, Recessed Door Sensor 7 is SmartStart enabled allowing you to connect
it to your Z-Wave gateway by scanning your device's QR Code using your gateway's app. Once scanned, Recessed Door
Sensor 7 will join your Z-Wave network automatically within 10 minutes.
B. If your gateway supports the Z-Wave Device Specific Key (DSK) security protocol, enter the first 5 digits of your
device's DSK into your gateway's interface when prompted.
C. Else, set your Z-Wave gateway into its 'add device' mode. Refer to the gateway's manual if you are unsure of how to
perform this step. Then press Recessed Door Sensor 7's Action Button once, its red LED will flash Red color.
5. When Recessed Door Sensor 7 successfully joins your Z-Wave network its LED will turn solid red for 10 seconds. If LED
becomes slow fade-in fade-out Red color before turning off, it means the device is still unable to join your Z-Wave
network; repeat the above steps and please contact us for further support if needed.
6. Squeeze the sides of the sensor casing lightly again and re-insert the chipboard as it was. Re-attach the lid.
Recessed Door Sensor 7 is now a part of your Z-Wave home control system. You can configure it and its automations via
your Z-Wave system; please refer to your software's user guide for precise instructions.
Page 6
