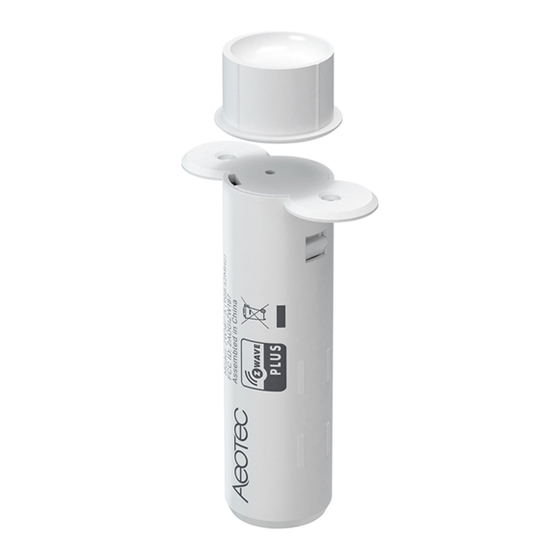
Aeotec Recessed Door Sensor 7 Podręcznik - Strona 9
Przeglądaj online lub pobierz pdf Podręcznik dla Akcesoria Aeotec Recessed Door Sensor 7. Aeotec Recessed Door Sensor 7 11 stron.

3.3
How to install the product
The following extra things are needed for the installation: screwdriver, 19mm wide drill bit, drill driver, PVA glue, rubber
hammer.
1. Drill a hole 65mm / 2.56inch deep in your door at the selected location with a 19mm / 0.75inch wide drill bit.
2. Drill a hole 15mm / 0.59inch deep in your doorframe at the corresponding location with a 19mm / 0.75inch wide drill
bit.
3. Insert sensor into the hole you drilled in the door. If it requires force to push the sensor, expand the drill hole
accordingly. Secure the sensor with two of the provided screws.
4. Place a small amount of white PVA glue inside of the hole you drilled in the doorframe. Insert the magnet into the
hole. If it requires force to insert, it can typically be tapped into place with a rubber hammer.
3.4
How to add the product into Z-Wave network
The following will step you through connecting the product to your Z-Wave network.
Note: This product supports Security 2 Command Class. While a Security S2 enabled Controller is needed in order to
fully use the security feature. This product can be operated in any Z-Wave network with other Z-Wave certified
devices from other manufacturers. All mains operated nodes within the network will act as repeaters regardless of
vendor to increase reliability of the network. QR Code and PIN are used for SmartStart inclusion. DSK Code can be
found on packaging. Do not remove or damage them.
1. Press the sensor latch with a slotting screwdriver to remove the lid of the sensor.
2. Squeeze the sides of the sensor casing to alleviate pressure on the chipboard; slide the chipboard out.
AEOTEC Engineering Specification
Page 5
