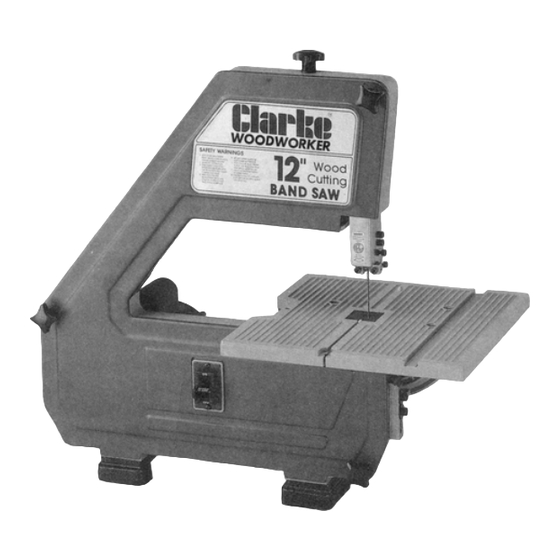
Clarke CBS-12WB Instrukcja obsługi - Strona 5
Przeglądaj online lub pobierz pdf Instrukcja obsługi dla Piła Clarke CBS-12WB. Clarke CBS-12WB 14 stron. 12" wood cutting bandsaw

7. Loosen the three (3) cover knobs by turning
counterclockwise and remove cover.
NOTE: Replace the bandsaw cover after blade is
properly installed, tensioned and tracked.
8. Loosen the two screws that secure the lower
blade guides and separate them about 1/8".
9.
Loosen
the screw holding
the lower blade
guide support
and slide support
all the way
toward the rear of the saw, and retighten
screws.
Warning:
To avoid being scraped
should blade
suddenly
uncoil,
wear
safety
goggles
carefully
uncoil
the blade
holding
it at arms
length.
10. Place the blad e over the wheels with the teeth
pointing downward toward the table
shown. Make sure the blade is in the center
of the rubber tires.
all
and
as
-6-
Tensioning The Blade
NOTE: Your bandsaw can use only 1/4" (6mm) wide blades, 56-1/8" (1425mm) long. A blade
is included with this saw. Ensure that, the tension lock knob is tightened before turn on the
machine.
Loosen the tension lock knob a little (1/4
of a turn counter-clockwise).
To check
blade
tension,
push
thumb
against
side
of blade
between
lower
wheels.
Blade should move only slight ly
with moderate
pressure.
Be careful not to
over
tension
blade.
Retighten
tension
lock knob.
If too much blade tension has been applied, blades may tend to break more easily and blade life
will be shorter. If too little blade tension has been applied, blade may not track easily, may slip
on whe els, or will move too easily when checking
Note: (1)
Tension lock knob must be tighten before mo ving blade.
(2) Loosen
the tension
adjusting
but ensure that the tension lock knob is still fix on the band saw).
Tension adjusting knob
Turn the tension adjusting knob clock-
wise until
blade has proper tension.
Turn the wheel by hand clockwise
T
e
turns and notice if the blade remains
n
s
the approximate
center of the tires.
i
o
n
tension.
knob a little after usage, (to lengthen the blade's life
-7-
a few
in
