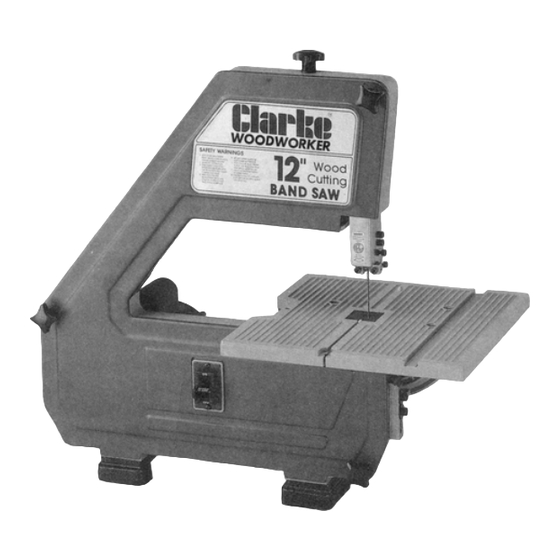
Clarke CBS-12WB Instrukcja obsługi - Strona 6
Przeglądaj online lub pobierz pdf Instrukcja obsługi dla Piła Clarke CBS-12WB. Clarke CBS-12WB 14 stron. 12" wood cutting bandsaw

Tracking The Blade
1. Loosen the Tension Lock Knob (1/4 of a turn
counter-clockwise)
and
turn
the
adjustment set screw slightly with the hex
wrench 3mm (Turning the set screw moves the
tension wheel back and forth.)
2. If the blade moves toward the front of the band
saw:
Turn the tracking adjustment screw
clockwise about 1/4 of a turn, as though you
were tightening it. If the blade moves toward the
back of the band saw:
Turn the tracking adjustment screw counter clockwise about 1/4 of a turn as
though you were loosening it.
Turn the screw just enough to cause the blade to run in the approximate center of all tires.
3. After adjusting, tighten tension knob and turn upper wheel by hand clockwise a few turns
and notice if the blade remains in the approximate center of the tires, Re-adjust if
necessary, until blade is tracking properly.
Aligning The Table Square To Blade
1. Loosen table lock knobs.
Place a square on the table in front of the blade
as illustrated.
Tilt table up or down to align table 90 degrees to
blade (0 degree position) and tighten lock knobs.
2. Adjust zero stop set screw using hex wrench
(3MM) until set screw just touches frame.
Check squareness of blade to table. Make re-
adjustments-if necessary. Set bevel indicator to
line up W ith zero.
tracking
-8-
NOTE: W hen table is tilted to a bevel angle, the
lower blade guide support should be lowered to
clear the table. After bevel cutting and returning
table to zero position, always raise the lower blade
guide up to provide maximum support for the blade.
NOTE: The upper and lower blade guides support
the blade and keep it from twisting during operation.
An adjustment
is necessary
when blades are
changed, replaced or installed for the first time.
Adjusting Upper Blade Guide Assembly
* Loosen lower screw on side of upper blade
guide assembly and slide assembly forward
until the front edge of the blade guides are
approximately 1/32" from the GULLET of the
saw blade. Tighten screw.
Adjusting Upper Blade Guides
* Loosen the two screws that lock the upper blade
guides and press the two guides evenly against the
sides "of the blade but do not pinch the blade.
Release the guides and rotate the upper wheel
slightly clockwise moving the blade downward.
Make sure one guide is not further away from
the blade than the other. Tighten both screws.
-9-
