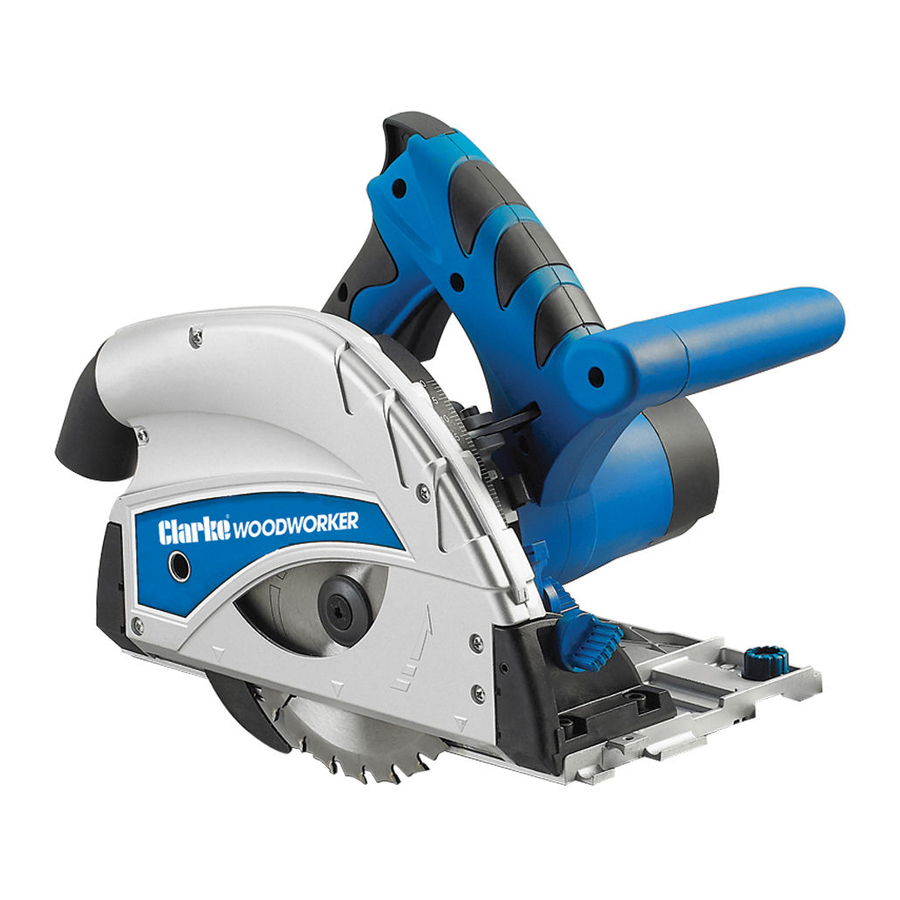
Clarke CPS160 Instrukcja obsługi i konserwacji - Strona 12
Przeglądaj online lub pobierz pdf Instrukcja obsługi i konserwacji dla Piła Clarke CPS160. Clarke CPS160 17 stron. 160 mm plunge saw

GUIDE RAILS
JOINING THE RAILS TOGETHER
1. Insert the joining bar half way into
one of the rails and secure using 2
of the set screws on the joining
bar.
2. Slide the second rail over the
other half of the joining bar until
the rails are touching and secure using the remaining 2 set screws on the
joining bar.
USING THE RAILS
NOTE: Before using for the first time, perform a full length cut on a scrap piece
of wood to cut the rubber lip on the rails flush to the blade.
1. Place the plunge saw onto the
guide rails as shown.
2. Slide the plunge release button
upward and squeeze the on/off
trigger to start the saw.
3. Push the saw down until you
reach the set cutting depth.
• Remember to add the
thickness of the rails to your
measured cutting depth
(approximately 5 mm).
4. Push the saw forwards to make the cut.
5. Release the on/off trigger and allow the saw to spring up when the saw
cutting is complete.
6. If you are performing a mitre cut
using the rail, you may need to fit
the anti-tilt bracket as shown using
the clamp nut supplied.
Parts & Service: 020 8988 7400 / E-mail: [email protected] or [email protected]
12
